

### Blog Post:
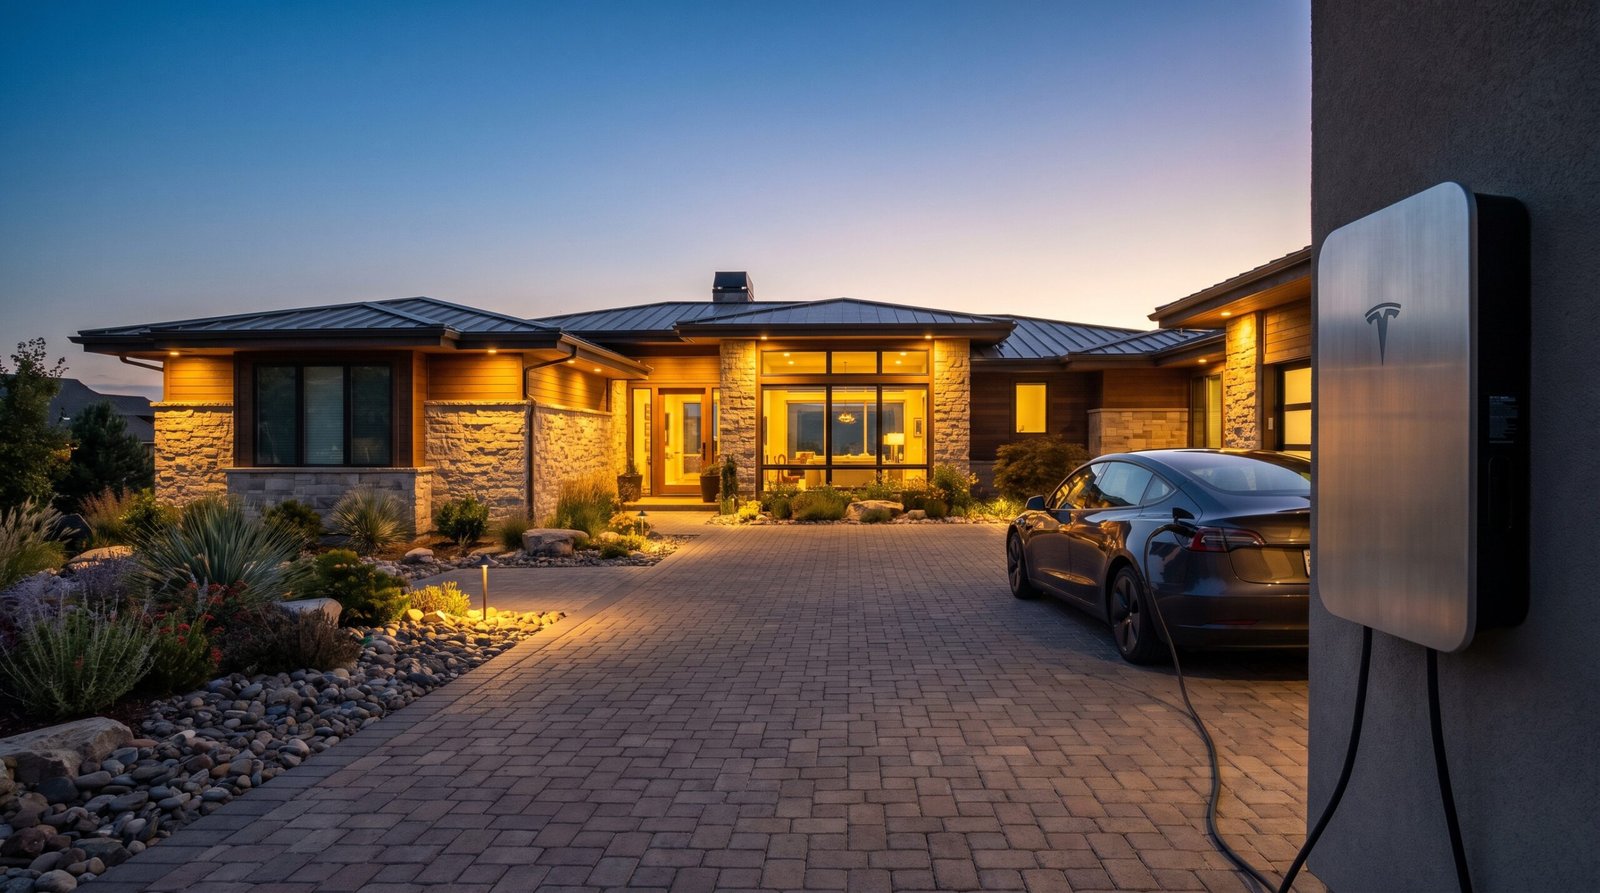
EV charger home installation is one of the fastest growing electrical upgrades in American homes—and the stakes are high for getting both the cost and the timeline right. If you’re about to install a Level 2 charger at home, this guide will help you avoid unnecessary expenses, understand what drives installation cost, and help you confidently choose an installer for the job.
Key Takeaways
- Typical Level 2 EV charger installation cost at home ranges from $800 to $3,000, but jumps to $3,000–$7,000 if a panel upgrade is needed.
- Labor and wiring run about 70% of total cost; hardware is typically only 25%.
- Permitting delays, wiring distance, and regional panel upgrade needs can inflate timeline and budget—compare bids carefully and coordinate with your utility early.
- Quick snapshot — 2024–25 U.S. home EV‑charger installs
- How much does a Level 2 EV charger installation cost at home? — Ballpark and realistic ranges
- Cost components broken down — hardware, electrician, wiring, permits, trenching
- Location & panel upgrade likelihood — regional factors that change the price
- Top 4 homeowner pain points (permits, wiring costs, timelines, post-install support) — and how to avoid them
- Installer playbook — ChargePoint, Tesla wall connector, hardwired vs NEMA outlets
- How to choose an electrician / contractor — checklist & must-ask questions
- Hidden costs & how to reduce total installation cost
- Long-term maintenance, warranty & future-proofing (three subtopics often missing)
- Quick decision checklist & next steps (what to do this week)
- FAQ
Quick snapshot — 2024–25 U.S. home EV‑charger installs
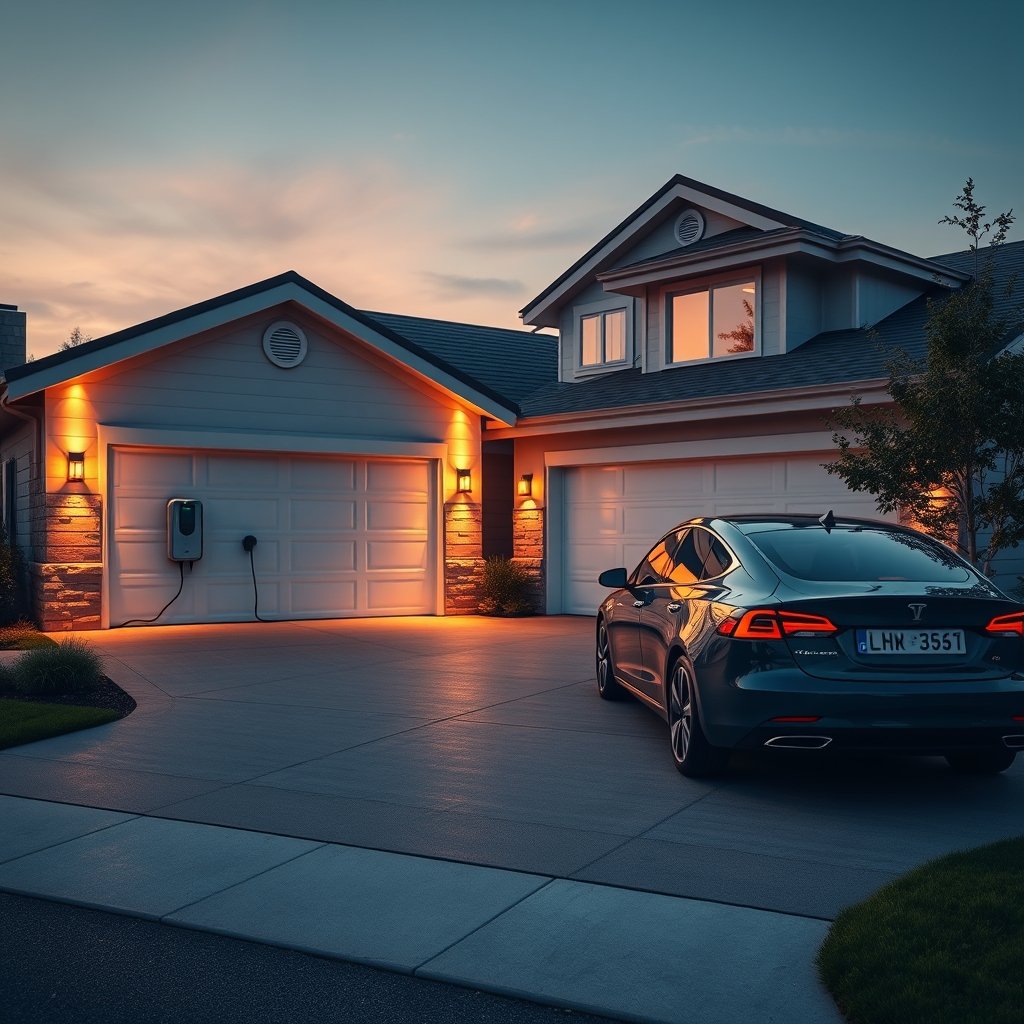
EV charger home installation is now a mainstream home upgrade. In 2024 and 2025, U.S. homeowners are installing 2–2.5 million residential EV charging units per year, with an annual market growth around 12% to 15% [source]. Level 2 chargers are the dominant installation and account for two-thirds—about 66%—of home-charging revenue. Over 85% of U.S. EV owners have the ability to charge at home, which makes private installs the clear majority and means home charging is becoming as common as a home WiFi network. Public charging is growing but you’ll get the most convenience and lowest cost from a home setup. Ready to join the millions making the switch?
How much does a Level 2 EV charger installation cost at home? — Ballpark and realistic ranges
The average level 2 EV charger installation cost home is between $800 and $3,000 for a standard wall-mounted unit—this includes all electrician labor and parts, except for the charger hardware. If you require a substantial electrical upgrade (often called a “panel” or “service” upgrade), expect the cost to rise to $3,000–$7,000 or even higher in rare scenarios [source]. Costs vary based on the distance from your main panel to the charger location, local permit fees, and whether you require outdoor trenching or specialty equipment. Here’s what to expect in broad scenarios:
- Standard install (no panel upgrade, short run): $800–$1,400
- Moderate install (medium wiring distance, some panel work): $1,400–$3,000
- Challenging install (panel/service upgrade, long run): $3,000–$7,000+
Charger hardware prices range from $400 to $1,200, but are not included in most labor/install bids. Always get both figures in your quotes.
Cost components broken down — hardware, electrician, wiring, permits, trenching
Most of your budget will go to labor and wiring—hardware is only a quarter of the total. Here’s an average breakdown for a Level 2 home install:
- Charger hardware: About 25% of budget ($400–$1,200)
- Electrician labor + wiring/conduit: 50% ($75–$150/hour, typically 4–12 hours) [source]
- Wiring & materials: 20% ($150–$600 for 240V outlet for EV, conduit, etc.)
- Permits & inspections: 5% ($50–$300, varies by city/county)
- Trenching/outdoor run (optional): $300–$2,000+ (major cost if needed)
If you want to keep costs down, focus on minimizing labor hours (no demo or major rerouting), keeping charger distance from the electrical panel short, and handling permitting efficiently. For more help on time and labor management in complex home upgrades, check out our whole home generator installation cost guide too.
Location & panel upgrade likelihood — regional factors that change the price
Homes built before the 1990s—especially in the Midwest and South—often need electrical panel or utility service upgrades to support a 240V outlet for an EV. This affects roughly 18%–20% of installs in these regions, and can add $500–$5,000 to your final bill. Newer homes, especially in the West and Northeast, have higher-capacity panels more compatible with Level 2 charging and usually avoid these expenses. The more distance between your main electrical panel and your intended charger location, the greater your wiring, conduit, and potentially trenching cost will be.
Two quick examples:
- Older home, detached garage, Midwest: Likely panel upgrade, possible trenching—budget high ($3,000+).
- New home, attached garage, West Coast: Standard panel, short wiring run—budget low to moderate ($1,000–$2,000).
Be sure your quote explicitly confirms if panel upgrades or service limits may apply. This also rings true for accessory dwelling units—if you’re considering a garage conversion, our garage conversion ADU guide covers electrical service impacts in more detail.
Top 4 homeowner pain points (permits, wiring costs, timelines, post-install support) — and how to avoid them
The most common frustrations reported by homeowners during EV charger home installation are:
- Permit and inspection headaches: Not all installers pull the permit, and chasing signatures can drag your timeline.
How to avoid: Insist your electrician/contractor lists permit application and final inspection in their written scope. If your city requires utility approval, ask if they handle that too. - Wiring and long-run surprise costs: If your panel is far from your garage or outdoor parking, extra conduit, wiring, or trenching may balloon costs.
How to avoid: Request quotes for both “best case” (panel near charger) and “worst case” (long run, trenching needed). - Timeline delays from permitting and utility coordination: What should take weeks can stretch to months, especially if panel upgrades or grid coordination are involved.
How to avoid: Contact your utility and city permitting office at project start to understand timelines. This is crucial for both EV charger jobs and other large home upgrades such as heat pump water heater upgrades. - Poor post-install support: Some homeowners are left without help on hardware troubleshooting, warranty claims, or software/firmware updates.
How to avoid: Ask specifically if post-install tech support is included and get all warranty documentation.
Understanding these issues upfront can save you weeks, if not months, and potentially thousands of dollars.
Installer playbook — ChargePoint, Tesla wall connector, hardwired vs NEMA outlets
The majority of modern installs involve either a ChargePoint home charger or a Tesla wall connector (other units like JuiceBox and Grizzl-E are also gaining traction). The main installation decision is whether you want a hardwired connection or a plug-in unit using a NEMA 14-50 outlet:
- Hardwired: Slightly lower ongoing maintenance; often required by local code for outdoor installs. Slightly higher install cost, less flexible for future upgrades.
- NEMA 14-50 outlet: Offers flexibility if you swap chargers, but the outlet and weatherproofing add $150–$350 to the install. May be easier for DIY replacement, but requires the same licensed electrician for original work.
ChargePoint and Tesla Wall Connector installs average about $1,300 per job [source]. Expect your installer to:
- Evaluate your panel and site (virtual quote or site visit).
- Recommend best mounting and wiring solution for your chosen charger.
- Submit permits (if permitted locally) and schedule utility coordination as needed.
- Install and test hardware, provide initial software setup/walkthrough.
If you want to compare the workflow with other smart home upgrades, see our smart thermostat checklist for an in-depth step-by-step process.
How to choose an electrician / contractor — checklist & must-ask questions
Choosing the right installer means more than just finding someone with a license. Here’s a checklist and sample questions to make sure you’re protected and get the best value for your EV charger home installation:
- License & insurance: Must be state-licensed and fully insured.
- EV experience: Ask how many home EV installs they’ve completed in the past year.
- Permits & utility coordination: Do they handle all paperwork and site inspections?
- Warranty handling: Do they offer labor and hardware warranty themselves, or just pass you to the manufacturer?
- References/reviews: Can they provide local references with similar jobs?
- Written scope & change-order policy: Does your quote clearly explain what’s included, and list extra charges?
Sample must-ask questions:
- Will you include the price of all permits, inspection, and possible panel upgrades in your bid?
- If my power service or panel is too small, do you coordinate with the utility or do I have to call them separately?
- How long is your labor warranty and how do I file a claim?
Get bids from at least two to three electricians and don’t be afraid to compare individual line items and policies. For high-investment upgrades, see our insulation vs fiberglass guide for an example of how to vet contractors on complex home services.
Hidden costs & how to reduce total installation cost
Hidden costs for Level 2 EV charger home installation usually come from:
- Panel/service upgrades: $500–$5,000—most expensive and not always needed.
- Long conduit/wire runs: Especially when charger is on the other side of the home or in a detached building.
- Trenching for outdoor installs: $300–$2,000+—major factor if vehicle parking is separated from the panel or home.
- Meter upgrades or city-mandated service changes: Rare, but can happen in older neighborhoods.
Ways to hold down your level 2 EV charger installation cost home:
- Choose the closest practical charging location to your main panel—each foot saved on conduit lowers cost.
- Bundle your EV charger job with other electrical projects (outlets, lights, panel work) to save on “first hour” labor charges.
- Seek out local, state, and utility rebates. Many power companies offer incentives for residential installations [source].
- Always get multiple quotes before committing.
Compare these cost-saving ideas to those in our solar outdoor lights buying guide, which explores rebates and site placement for savings as well.
Long-term maintenance, warranty & future-proofing (three subtopics often missing)
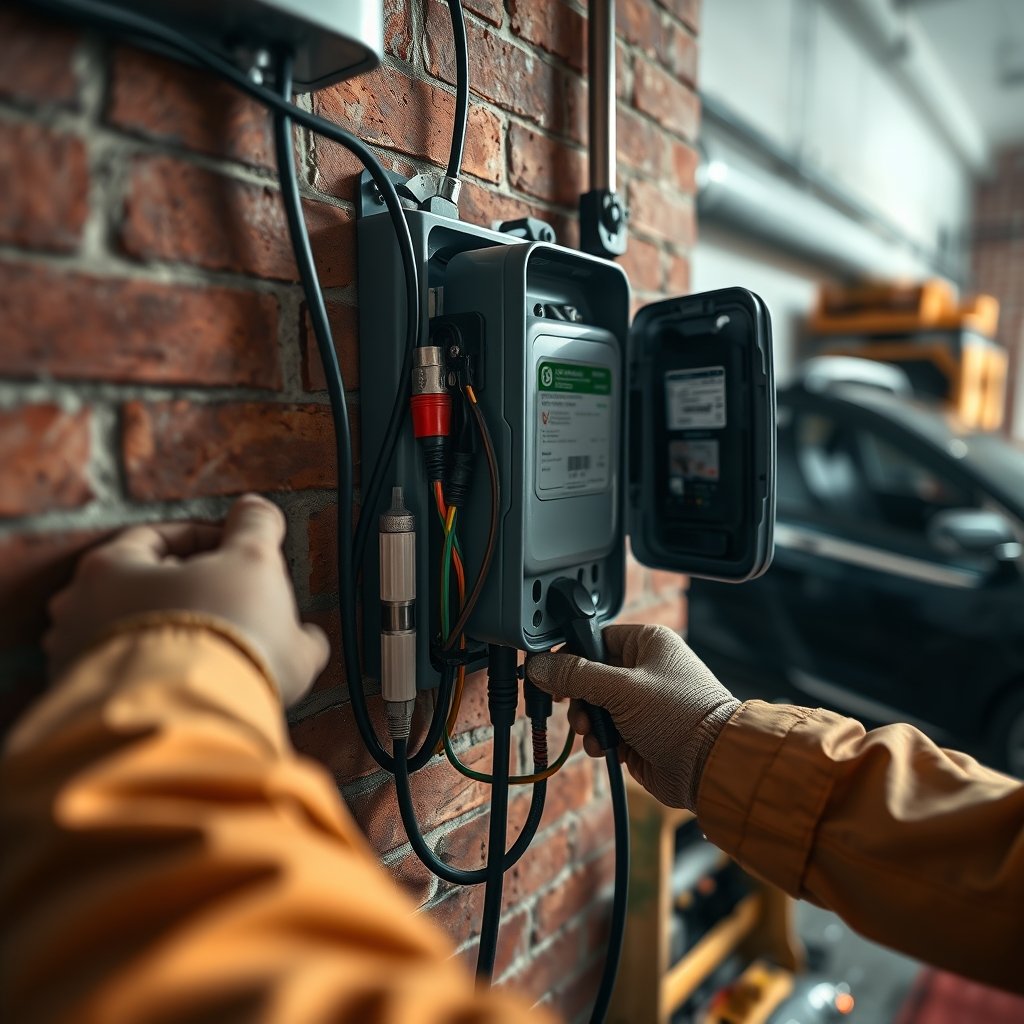
Many articles skip long term planning and warranty issues. Don’t. Here are three things smart homeowners do to future proof an EV charger home installation:
- Utility company coordination & potential grid upgrades: Some older homes need the power company to approve a higher service capacity—especially when adding high usage appliances. Start this conversation early.
- Warranty management: Keep all purchase, installation, and permit documents. Register your hardware promptly and understand who handles support—many installers only cover one year for labor, but hardware may need firmware updates or service in the future.
- Plan for load management/smart charging: If you plan to add more EVs, consider chargers that support software-based load management or “smart” scheduling. This can help avoid costly panel/service upgrades later.
If you want to keep your garage organized and prepare space for wiring, see our garage storage system DIY guide for clever layout tips that simplify charger installs.
Quick decision checklist & next steps (what to do this week)
Follow these steps for a smooth, predictable install:
- Decide on your charger location—confirm parking spot and entry method for the cable.
- Measure distance from main panel to charger location—shorter is almost always cheaper.
- Request 2–3 installer bids, and ask for scenarios with and without a panel upgrade and with exact permit fees and wiring distance shown.
- Contact your utility to check for service limits or any rebate programs.
- Choose your charger model (e.g., ChargePoint, Tesla Wall Connector, or others).
- Schedule city permitting and, if possible, pre-approved utility coordination.
- Book installation and block time for final inspection.
With proper planning, your project can go from first call to completion in as little as two weeks, but panel upgrades or slow permitting can stretch it to several months. Stay proactive at every step.
FAQ
How long does a typical Level 2 EV charger home installation take?
Most jobs are completed within one to three days, but permitting and utility approvals can extend the total project time to several weeks, especially if a panel upgrade is needed.
Can I install a Level 2 EV charger myself?
It’s possible for licensed electricians or highly experienced DIYers, but for safety and code compliance, nearly all U.S. localities require installation by a licensed electrician and inspection/permit for insurance and warranty coverage.
Is a panel upgrade always needed?
No. About 80% of recent installs do NOT require a panel upgrade, especially in newer homes. Older homes or properties with small panels and heavy electrical loads are more likely to need one.
What’s the difference between hardwired and NEMA 14–50 plug installation?
Hardwired units are connected directly to your panel—often a bit more secure for outdoor installs. NEMA 14–50 outlets let you swap chargers more easily but may slightly raise the initial installation cost.
What incentives are available for EV charger home installation?
Many utilities and some states offer rebates or incentives for residential EV charger installation, ranging from a few hundred up to $1,000 or more. Check with your local utility before starting work.