

### Blog Post:
Outdoor privacy screen installations have become a must-have for modern patio, balcony, and backyard spaces—yet the real-world buying and setup process is filled with hidden costs, sizing traps, and maintenance headaches few articles admit up front. This post delivers concrete, practical steps for choosing the right material, nailing your budget, and getting your privacy solution up without expensive reruns, overlooked permitting, or rookie mistakes.
Key Takeaways
- The global outdoor privacy screen market is booming—panels are the dominant, most widely available solution, but material and installation choices greatly affect cost and longevity.
- Standard privacy panels are 6–8 ft tall and 3–6 ft wide, but zoning, wind, and materials matter for the best, seamless fit in your outdoor area—get exact specs before you buy.
- Permitting and HOA approvals frequently add weeks to installation—budget both time and money for these unavoidable steps to stay on track.
- Why privacy matters now — quick problem + solution framing
- Market snapshot — who’s buying, what sells, and why panels dominate
- Materials comparison — pros, cons, and best use-cases
- Real prices + installation costs by material (purchase vs install)
- Dimensions and sizing — (the first common gap to fix)
- Durability & performance — UV, water resistance, and maintenance (the second common gap)
- Installation timelines, permitting & realistic project planning (the third common gap)
- Top user pain points and practical fixes
- Best options by use-case — patio, balcony, and backyard buying guide
- Budget scenarios & decision matrix (DIY vs hire)
- Maintenance checklist & lifespan expectations
- Quick shopping checklist & what to ask sellers/contractors
- Visual & design inspiration + small gallery prompts
- Wrap-up: recommended next steps & timeline template
- FAQ
Why privacy matters now — quick problem + solution framing
With denser living and urbanization, more homeowners are craving private, comfortable outdoor rooms—on balconies, patios, or small backyards. Privacy screens aren’t just about blocking the neighbor’s view; the right patio privacy panels can also break wind, temper sunlight, and add instant design appeal to your space. Market research shows demand surging thanks to shrinking lot sizes and new trends in backyard privacy ideas and flexible outdoor living. The outcome: well-chosen outdoor privacy screens reduce unwanted sightlines, dampen wind, moderate sun, and define peaceful zones for daily living or entertaining.
Market snapshot — who’s buying, what sells, and why panels dominate
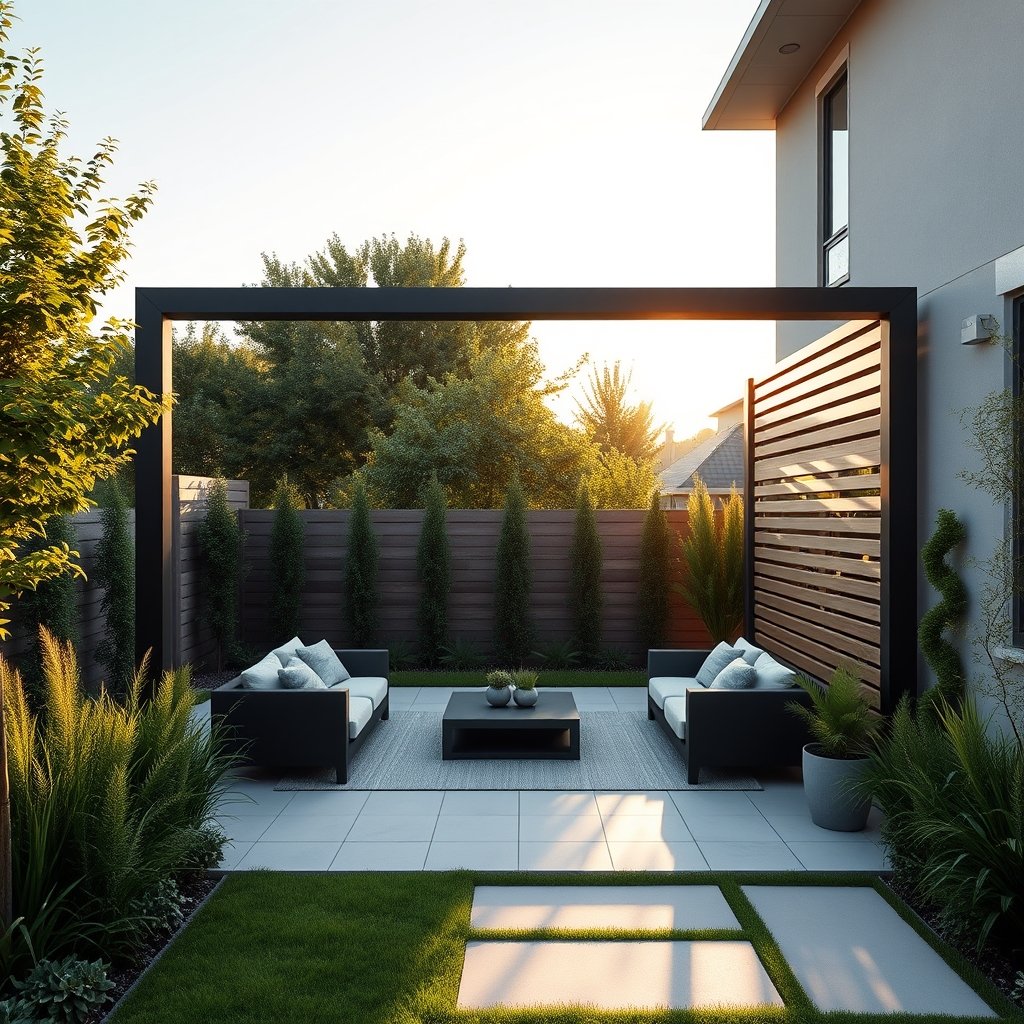
The global outdoor privacy screen market is pegged at $3.4 billion in 2026, riding a 6.3% CAGR to reach $5.8 billion by 2035. In the U.S. and Canada, the fence-screen segment is projected at $83.7 million in 2025, with growth to $145.7 million by 2035 (5.7% CAGR). What’s moving fastest? Panels—taking about 43% of the market share—thanks to their modularity and massive range of designs and price points, especially patio privacy panels that fit both modern and classic spaces. Availability, style, and cost all follow the panel trend, making these the go-to solution for nearly every outdoor privacy screen project.
Materials comparison — pros, cons, and best use-cases
Not all panels are created equal. Material choice impacts maintenance, durability, design, and even installation. Here’s how leading options stack up:
| Material | Market Share | Best For | Pros | Cons |
|---|---|---|---|---|
| Wood (cedar, pine, reclaimed) | ~35% | Backyards, patios with a natural look | Warm, classic style; easy to cut; affordable upfront | Prone to rot, requires stain/seal; high upkeep |
| Metal (steel, corten, aluminum) | ~30% | Modern decorative outdoor screens, balconies, urban spaces | Laser-cut DIY/modern designs; durable if coated; wind-resistant | Heavier; can rattle if not secured; risk of corrosion if finish is scratched |
| Composite (wood-plastic blend, recycled polymer) | ~25% | Low maintenance patios & full-height privacy | Resistant to warping, rot; stable color; minimal upkeep | Higher purchase price; fewer color/grain options |
| Fabric/Bamboo/Living wall | ~10% | Temporary balcony privacy, eco features | Budget-friendly; light; fast install; green design | Lowest lifespan; less wind resilience; minimal privacy in winter |
For tight balconies, consider lightweight fabric or composite. Patios benefit from sturdy metal or composite panels, while backyards allow for full-height wood or even lush living walls. See loads of real-world options in this decorative outdoor screen roundup.
Real prices + installation costs by material (purchase vs install)
Budgeting for privacy screens is easier when you break down both purchase and installation costs. Typical 2024–25 price ranges (per panel):
- Wood: $100–300
- Metal (laser-cut): $200–500
- Composite: $150–350
- Fabric/Bamboo: $50–150
Professional installation:
- Wood: $150–300 per panel
- Metal: $150–250 per panel
- Composite: $150–300 per panel
- Fabric/Bamboo: $50–100 (DIY often makes sense)
You can sometimes save on labor by going DIY—especially for fabric or bamboo—and simple composite systems, but >75% of metal or full-height wood panels are pro-installed due to weight and bracing requirements. For more on budgeting, check this garage storage system DIY guide—the same rules often apply.
Dimensions and sizing — (the first common gap to fix)
Getting panel size wrong is expensive and frustrating. Research shows standard panels are 6–8 ft high and 3–6 ft wide, but not all local codes allow full 8 ft heights—zoning often limits you to 6 ft at lot lines or rails. Measure sightlines from typical seated and standing positions to confirm height needs. For odd-shaped zones, modular or stackable panels in 3- or 4-foot widths let you build out extra privacy without custom orders. Balance function with style—you want a clean line, not a blocky “repair job.” Always confirm local zoning and HOA restrictions before buying to stay legal. Pair this sizing advice with the step-by-step tips in our DIY backsplash guide—the measure-twice, order-once rule is universal.
Durability & performance — UV, water resistance, and maintenance (the second common gap)
Most user complaints focus on weathering and maintenance. Key issues are:
- Wood: High risk of rot without annual sealing. Needs UV-blocking stains for sunny locations. Life span: 7–15 years (cedar best).
- Metal: Must be powder-coated for outdoor use. Stainless-steel hardware or sealed fixings cut rust risk. powder-coated panels last 15–25 years with basic cleaning. Uncoated options corrode. Wind-bracing is mandatory for large metal screens to avoid rattling.
- Composite: UV stable—little to no fading. Will not rot/mildew and rarely needs more than an occasional wash. 20–30 year lifespan, costs more up front, pays off in low upkeep.
- Fabric/Bamboo: UV resistance and water repellency vary. Look for “UV-blocking” or “all-weather” specs. Most last 3–5 years with direct weathering.
Pick composite or powder-coated metal for long-term, low-maintenance installs. Apply protective stains or clear coats to wood yearly. Install wind clips or bracing for metal designs in exposed sites. See solar outdoor lights for finishing tips that double as weatherproofing.
Installation timelines, permitting & realistic project planning (the third common gap)
Few guides address timelines—yet every privacy screen job is slowed by hidden steps. Here’s a realistic sequence:
- 1–2 days: Take final measurements and choose panels
- Up to 2 weeks: Get quotes and finalize order
- 2+ weeks: Submit for local permit/HOA approval—can take 2–6 weeks if reviews are busy
- Lead time: Wait for panel delivery (1–3 weeks common, some custom orders take longer)
- 1–3 days: Site prep, posts/ground prep
- 1–2 days: Panel installation and finish work (weather dependent)
Permitting and HOA reviews are the big slowdown—add a buffer and expect 4–8 weeks from purchase to finished install if approvals are needed. Budget professional install costs per earlier section. Always ask sellers and contractors about lead times and what paperwork is required upfront. Refer to our robot lawn mower guide for more on project workflow and planning around contractor schedules.
Top user pain points and practical fixes
User frustrations are highly predictable:
- Premature weathering (UV, water damage) on wood and untreated metal
- High wood maintenance—yearly refinishing, risk of rot near ground contact
- Wind instability—panels rattling or tipping (especially metal/fabric without bracing or solid anchoring)
- Local height/zoning limits—tough to get 8 ft coverage in many neighborhoods
- Unattractive seams where panels meet or transition
Fixes:
- Use UV-blocking stains or powder-coated/prefinished panels; install stainless or weather-sealed fasteners
- Add structural bracing or “wind clips” to stabilize panels, especially on open patios and decks
- Opt for modular panels with overlap if seamless look is crucial—minimizes visible seams and gaps
- Consult pros for installations near property lines or above-grade decks for compliant anchoring and spacing
Putting these into practice drastically reduces call-backs, damage, and ongoing headaches.
Best options by use-case — patio, balcony, and backyard buying guide
Consider these matches for top results:
- Small balconies: Lightweight composite or fabric screens; bamboo rolls (around $50–150); meet code by confirming attachment methods won’t damage rails; watch for wind load on top stories
- Patios: Retractable or sturdy metal panels for flexible privacy with wind and sun control. Composites ($150–350 per panel) minimize long-term maintenance
- Backyards: Wood or composite for full-height privacy; living wall systems offer green appeal at mid to upper price points. Metal laser-cut panels bring design variety ($200–500+ per panel)
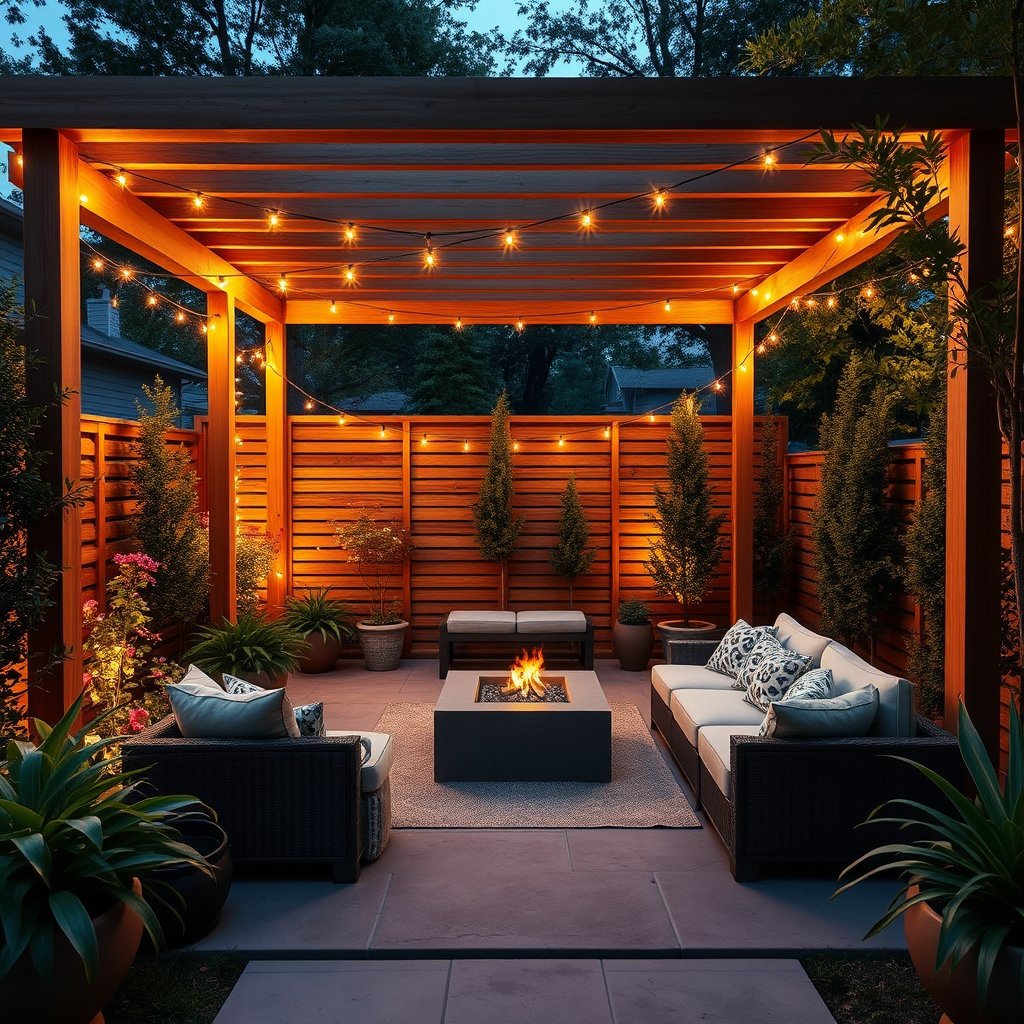
Aim for materials balanced between cost, maintenance, and code compliance. Composite and powder-coated metal are ideal for most—but wood excels in fully covered, ventilated backyard use.
Budget scenarios & decision matrix (DIY vs hire)
Use these sample budgets based on 3-panel 6 ft screen installs:
- Economy: Fabric/bamboo panels ($60 each x 3 = $180) + DIY install (free or $50 in hardware)
- Mid-range: Wood panels ($180 each x 3 = $540) + Pro install ($200 each x 3 = $600) = $1,140
- Premium: Metal panels ($350 each x 3 = $1,050) + Pro install ($200 each x 3 = $600) = $1,650
DIY or Hire? Ask yourself:
- Do you have tools/experience for drilling, bracing, and leveling panels?
- Is your area wind-exposed or will you need pro-grade anchoring?
- Can you handle permits and alignment on your own—or is a contractor safer?
Low cost and easy install? Go fabric or simple composite. Bigger or more exposed jobs call for a professional, especially to guarantee stability and code compliance. For more planning tools, scan our raised garden bed guide—decision trees work across most DIY/home projects.
Maintenance checklist & lifespan expectations
Expected tasks and lifespan by material:
- Wood: Inspect for rot, refinish yearly, replace any weathered slats every 5–7 years; lifespan 10–15 years for cedar if maintained
- Composite: Rinse seasonally; check fits/anchors; expect 20–30 years life with little to no maintenance
- Metal: Wipe clean twice a year; inspect and touch up powder coat if scratched; lifespan 15–25 years
- Fabric/Bamboo: Remove after storms; shake out debris; expect 2–5 years’ use, replace as needed
Finish with UV-protective coatings where possible, tighten fasteners each spring, and inspect seams for shifting or sagging. Investing small time each season adds years to any system’s usable life.
Quick shopping checklist & what to ask sellers/contractors
Don’t skip these questions when you shop or request quotes:
- What are the exact panel dimensions?
- What is the UV-block and water-resistance rating?
- What’s the warranty term—does it cover color fade, cracks, or fixings?
- What is the wind-rating or anchoring method for my space?
- What is the expected lead time for order and delivery?
- Will you help with permits/HOA paperwork, or is that on me?
Remember, with panels taking 43% of the market, you’ll have choices—use the price ranges above as the basis for comparing every quote. If in doubt, ask for references or see finished demo installs.
Visual & design inspiration + small gallery prompts
Consider these visual options to inspire your planning:
- Laser-cut metal panels for bold, shadow-casting privacy
- Cedar slat walls for a warm, organic look
- Composite slats for low-maintenance, uniform lines
- Living walls—real or artificial ivy panels blend privacy and greenery
- Retractable fabric screens for flexible patios
Pair privacy panels with soft up-lighting, trailing plants, and built-in seating for a finished outdoor living room vibe. Check our structural element analysis for more compositional ideas.
Wrap-up: recommended next steps & timeline template
Here’s your actionable path to a successful privacy upgrade in the next 30–90 days:
- Measure your space carefully (heights, widths, sightline needs)
- Check zoning, HOA, or building code for height/material rules
- Choose your preferred material—match cost, durability, and maintenance tolerance
- Request 2–3 contractor quotes for install, or order panels for DIY
- Plan for permitting/HOA review if needed—this step alone can add weeks
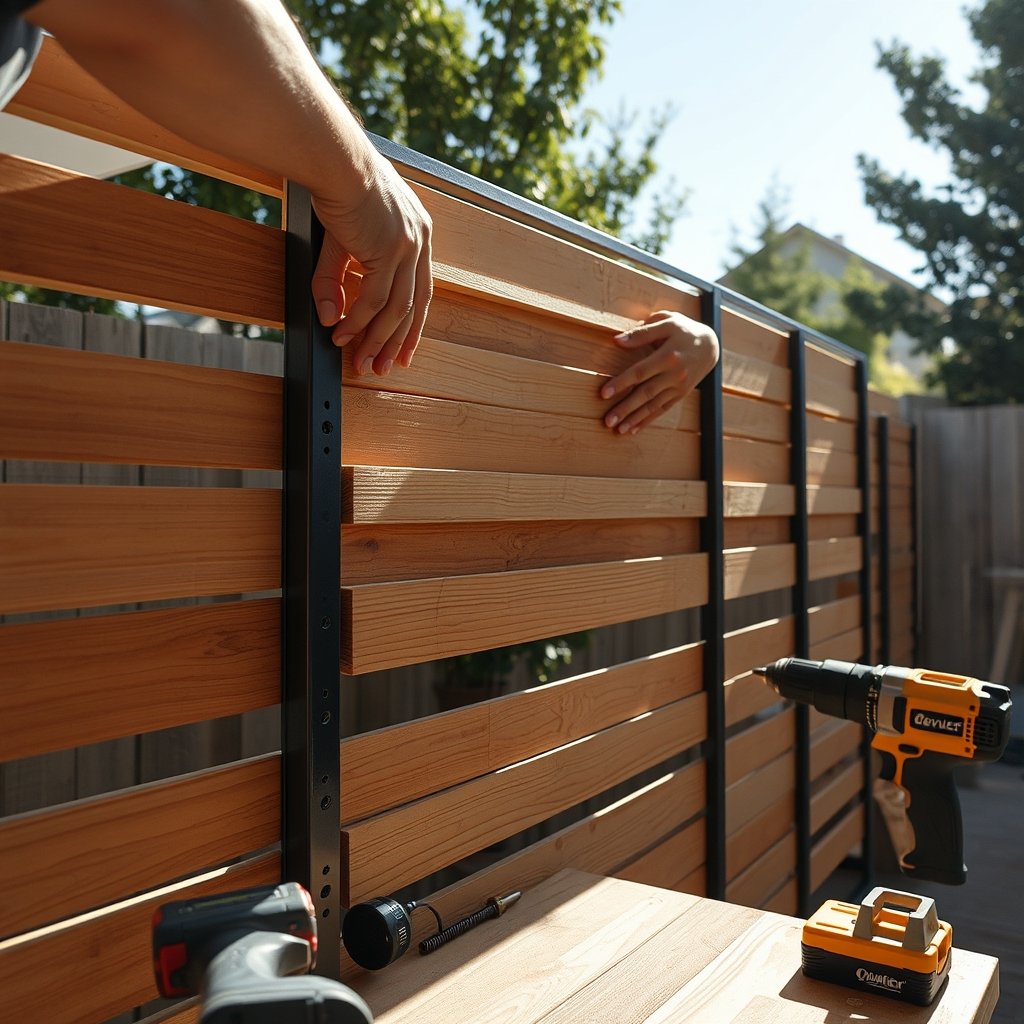
- Schedule installation or block weekend DIY time—and have extra fasteners, bracing, or tools on hand
Expect pro install costs of $150–300 per panel for wood/composite, $150–250 for metal, $50–100 for fabric/bamboo. Smart planning up front—especially regarding size, permitting, and install method—will ensure you get the right outdoor privacy screen for years of stress-free use. Ready to reclaim your outdoors? Start your privacy screen project today and enjoy your sanctuary tomorrow.
FAQ
What are the standard sizes for outdoor privacy screen panels?
Most panels are 6–8 ft high and 3–6 ft wide. Always measure your specific space and check local zoning or HOA restrictions as some regions limit height, especially at property lines or on balconies.
How much does it really cost to install patio privacy panels?
Costs vary by material. For example, wood panels run $100–300 each plus $150–300 for pro install per panel. Metal panels are $200–500 plus $150–250 for install. DIY saves labor, especially for fabric or bamboo (often under $100 per panel including hardware).
Which material is best for low-maintenance and longevity?
Composite and powder-coated metal offer the best combination of longevity and low upkeep—expect 20–30 years lifespan with minimal seasonal maintenance.
Do I need a permit to install an outdoor privacy screen?
Many cities and HOAs require approval for screens above 6 ft or those installed on property lines or visible facades. Always check before purchase—permit approval can add 2–6 weeks to your project timeline.
How do I prevent rattling or instability from wind?
Install wind clips or extra bracing on all exposed panels, especially metal or fabric. Secure all frames tightly and use heavy-duty hardware or anchors suited for your surface (decking, concrete, soil).