

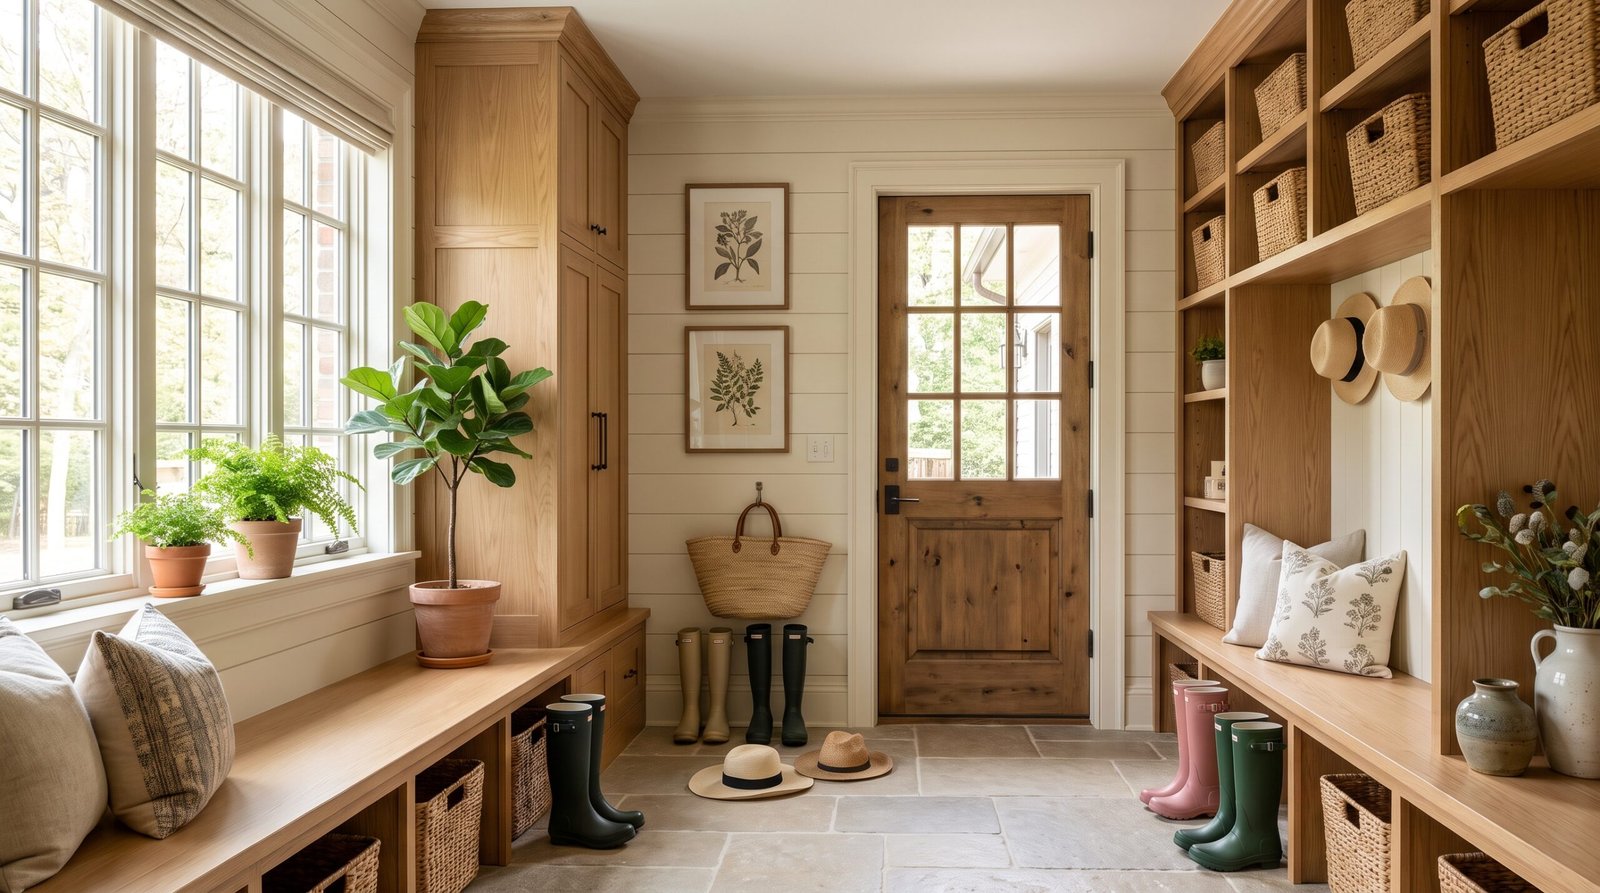
Mudroom addition ideas are in high demand with suburban homeowners looking for practical, budget-minded ways to solve daily pain points—especially when it comes to moisture management, durability, and lighting. Here’s how to design a mudroom that’s functional, affordable, and built to last in real life, not just in glossy magazines.
Key Takeaways
- Converting a small entry into a mudroom usually costs $50-$100 per square foot; bump-out additions run $100-$250+ per square foot.
- Moisture management, durable finishes, and layered lighting are essential but often overlooked in most guides.
- Poor flooring, ventilation, and underplanned lighting are the most common reasons DIY mudroom projects fail.
- Quick project snapshot — costs, timeline, ROI
- What most guides miss (deep dive)
- Common homeowner pain points to design for
- Smart layout moves for small entryways
- Mudroom bench with storage — designs that last
- Flooring & moisture-management essentials (the must-do items)
- Ventilation and wet-zone drainage (often overlooked)
- Layered lighting plan — safety + ambiance
- Durable finishes & long-term maintenance tradeoffs
- DIY mudroom on a budget — prioritized projects
- DIY pitfalls — what to avoid (checklist)
- Regional cost & contractor considerations
- Sample budget + timeline checklist (conversion vs bump-out)
- Selling points: How to position your mudroom to buyers
- Next steps & decision templates
- FAQs
Quick project snapshot — costs, timeline, ROI
Before planning your new mudroom, be realistic about costs and payback. Converting an existing entry typically costs $50-$100 per square foot, while bumping out your home for a new mudroom runs $100-$250+ per square foot. Durable mid-range flooring adds $5-$15 per square foot, and custom cabinetry (including benches) ranges from $3,000 to $10,000—and up.
Expect a timeline of 2–4 weeks for a straightforward conversion and 4–6 weeks for a full addition. Region matters: labor and materials are 10–20% higher in eastern and central US and Canada than western regions (source).
Resale value? Most mudrooms recoup 60–80% of their cost, but the main ROI is in daily function—not just dollars returned.
What most guides miss (deep dive)
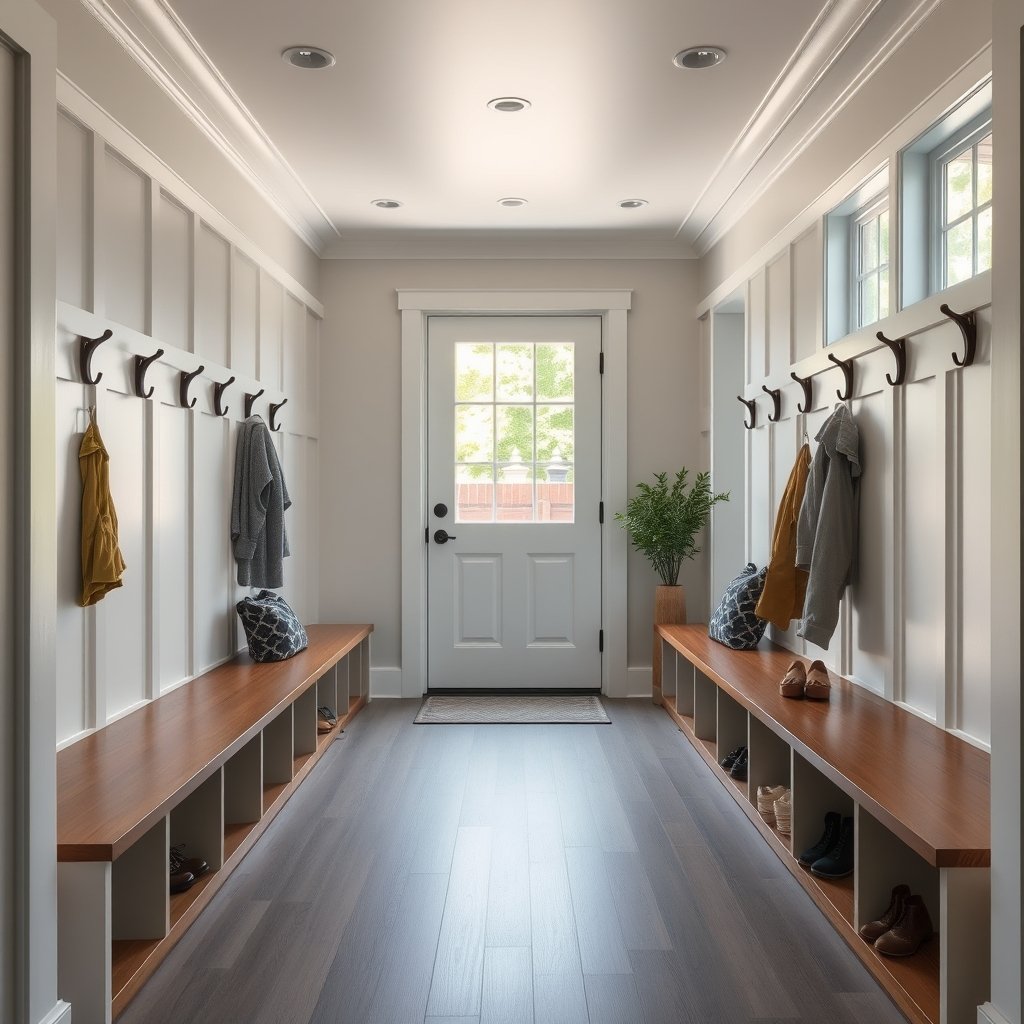
Most online advice skips three foundational aspects: moisture/ventilation planning, layered lighting, and material durability. These influence true project cost, maintainability, and daily usability much more than paint colors or storage bins.
- Moisture/vapor control: Without proper waterproofing and passive or mechanical ventilation, you’ll face warping floors, musty smells, and long-term mold risk.
- Layered lighting: Underplanning for both safety and ambiance leads to unsafe, dreary spaces. Ambient, task, and accent lighting must all be addressed up front.
- Material tradeoffs: Budget DIY often means underspending on flooring or wood, leading to swelling, scratches, and rapid wear. This impacts both immediate appearance and long-term ROI.
See more ways to boost durability in our SPC vs LVP flooring guide and our garage storage system DIY guide for organization tips.
Common homeowner pain points to design for
Research consistently shows that the big four frustrations are:
- Lack of usable storage and drop zones
- Moisture intrusion or water damage
- Surfaces that scratch, stain, or warp easily
- Poor, unsafe lighting (especially at night)
Every design choice should tackle at least one of these. Modular cubbies and benches, easy-to-mop sealed floors, and layered lighting (see the solar outdoor lights guide for more lighting ideas) directly map to these real pain points.
Smart layout moves for small entryways
Not every home has space for a grand “mud hall.” In a compact entry, prioritize:
- Vertical storage: Stack cubbies or lockers to free up floor space. Wall hooks above a slim bench allow shoe and bag storage below.
- Narrow, anchored benches: Aim for benches at least 12-15 inches deep. Secure them to studs for longevity, especially for kids and pets.
- Overlapping zones: Place pets’ items, kids’ shoes, and outerwear in defined vertical slices of the same zone for better flow.
Custom built-ins are coveted, but not always cost-effective: $3,000–$10,000 is common, so modular shelving or prefab benches are often smarter for small entryway storage solutions. See a full layout breakdown and sketches in this mudroom addition ideas guide.
Mudroom bench with storage — designs that last
When adding a mudroom bench with storage, size and materials make a big impact. Benches should be 15–18 inches high and at least 36 inches wide for practical use. Internally, opt for a mix of open cubbies (for shoes) and a lidded compartment (for sport gear or pet items).
Always anchor benches to wall studs, especially with kids. Avoid softwoods like pine or budget MDF, which warp and swell. Instead, use water-resistant plywood, hardwood, or quality pre-finished panels. Prefab benches can work—just check reviews for durability and weight limits.
For more on storage upgrades, explore ideas in our garage storage solution guide.
Flooring & moisture-management essentials (the must-do items)
Waterproof flooring isn’t optional for mudrooms. The most reliable mid-range options are:
- Porcelain tile: Tough, nearly impermeable, easy to clean. Hides scratches but needs grout sealing.
- Luxury vinyl plank (LVP): Warm underfoot, fully waterproof if installed correctly. Quick DIY install for experienced users.
- Sealed concrete: Ultra-durable and low maintenance, but less forgiving in cold climates unless radiant heat is used.
Budget $5–$15 per square foot for mid-range flooring plus installation. Skimping on sealing, substrate prep, or transitions is the #1 reason mudroom floors fail, with water leaking below and swelling subfloors (source). See more about flooring choices in this comparison guide for wet-prone spaces.
Ventilation and wet-zone drainage (often overlooked)
Poor ventilation is an invisible, slow-acting threat. At a minimum, add:
- Passive vents (door grills, high-low wall penetrations) to encourage airflow
- Mechanical ventilation (bath fan with humidity sensor) if pets, laundry, or frequent wet shoes are part of the equation
- Slight floor slope to a threshold or dedicated drain if adding a pet wash station
DIY mudrooms often skip this step and pay with mildew and warped finishes. Consider humidity control products, especially for cold/wet climates. Consult a GC or licensed plumber for anything beyond basic vent/fan install.
Layered lighting plan — safety + ambiance
Lighting is often underplanned but is critical to both usability and resale. The ideal mudroom lighting plan includes:
- Ambient overhead: Flush-mount ceiling LED or shallow pendant for general illumination
- Task lighting: LED strips under cabinets or wall sconces at bench/locker height
- Accent: Small spotlights or puck lights at hooks, display shelves, or art/feature wall
Map out light switch and outlet locations before drywall. Install dimmers where possible for evening ambiance. Under-budgeting for electrical is a frequent regret—add at least $300–$600 for basic new lighting circuits.
Explore energy-smart lighting solutions in our smart thermostat guide.
Durable finishes & long-term maintenance tradeoffs
Budget paint and MDF cabinetry might look sharp when new, but won’t last in a real mudroom with wet boots and pets. Consider:
| Material | Initial Cost | Lifespan | Maintenance | Resale Impact |
|---|---|---|---|---|
| Painted MDF | Low | 2–5 yrs | Prone to swelling, chipping | May reduce ROI |
| Solid Hardwood | Med-High | 15+ yrs | Occasional touch-ups | Improves appeal |
| Porcelain Tile | Med | 20+ yrs | Re-seal grout 1–2x per decade | Stable ROI |
| LVP | Med | 10-15 yrs | Mop & sweep only | Good ROI |
Investing in better materials may raise your upfront budget but results in fewer repairs and better resale outcomes (source).
DIY mudroom on a budget — prioritized projects
To make the most of a tight budget, prioritize by impact:
- Install a quality waterproof flooring or patch flooring ($200–$600, 1 day).
- Add a freestanding or built-in mudroom bench with storage ($125–$800, 1–2 days DIY).
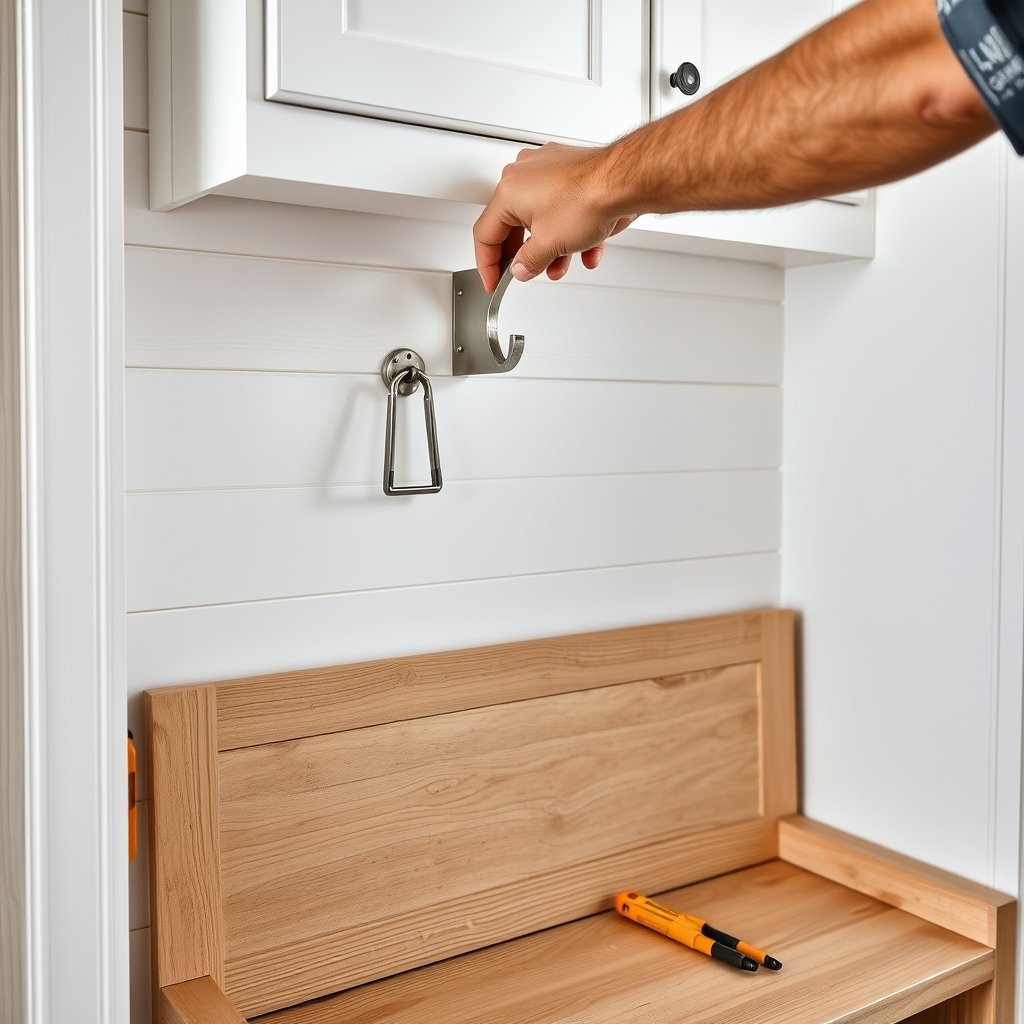
- Mount heavy-duty wall hooks and modular cubbies ($50–$200, 2-3 hours).
- Upgrade lighting to bright, low-profile LEDs ($100–$300, 1 day DIY or electrician).
- Paint with a washable, semi-gloss or eggshell finish ($30–$60, 2–5 hours).
Most homeowners spend $6,000–$20,000 total on a mudroom; see how small upgrades compared to full gut jobs in our small bathroom remodel on a budget analysis.
DIY pitfalls — what to avoid (checklist)
Avoid these classic traps to keep your DIY mudroom on a budget working for years:
- Skipping waterproof flooring or failing to seal edges and connections
- Building benches or cubbies out of low-grade lumber or MDF (warps fast in wet climates)
- Underplanning electrical—don’t forget outlets for vacuums, pet gear, and device charging
- Omitting any form of ventilation or drainage for wet zones—risking mold and odors
Always check for local permit or code requirements before modifying any wiring, HVAC, or adding drains.
Regional cost & contractor considerations
Costs can swing 10–20% based on where you live. Eastern and central US and Canada have higher wood-frame and finish labor costs, plus pricier materials. Western and prairie regions have cheaper wood but often pricier plastics and LVP. Local permitting, inspection, and lead times also vary—get at least three bids and ask for line-item breakdowns.
Engage pros specifically for:
- Flooring installs (proper substrate and seams are critical)
- Electrical or new lighting circuits
- Custom cabinetry or complex built-ins
- Wet-zone features that need plumbing or drains
Check reviews, references, and visit at least one completed project when possible.
Sample budget + timeline checklist (conversion vs bump-out)
| Line Item | Basic Conversion | Modest Bump-Out Addition |
|---|---|---|
| Waterproof Flooring (120 sq ft) | $850–$1,400 | $1,500–$2,200 |
| Bench/Built-ins | $450–$2,500 (modular/prefab) |
$4,000–$8,000 (custom, large) |
| Hooks/Racks | $120–$250 | $150–$400 |
| Lighting Upgrade | $300–$700 | $600–$1,000 |
| Vent/Fan | $200–$500 | $500–$1,200 |
| Permitting/GC fees | $500–$1,600 | $2,500–$5,500 |
| TOTAL | $2,420–$6,950 | $9,250–$18,300 |
Sample timeline (conversion):
1. Demo/rough-in (1–3 days)
2. Subfloor/prep (1–2 days)
3. Flooring install (1–2 days)
4. Electrical/lighting (1–2 days)
5. Built-ins/bench (2–3 days)
6. Paint, seal, trim, etc. (1–2 days)
7. Final punch list and cleanup (1 day)
Sample timeline (bump-out):
1. Permitting (varies: 1–3 weeks, concurrent with design/procurement)
2. Foundation/framing (2–5 days)
3. Windows/doors/roofing (2–4 days)
4. Utilities/rough wiring/plumbing (2–3 days)
5. Insulation/drywall (2–3 days)
6. Flooring/cabinets (2–3 days)
7. Paint, trim, fixtures, finish (2–3 days)
8. Final inspection and punch list (1–2 days)
Selling points: How to position your mudroom to buyers
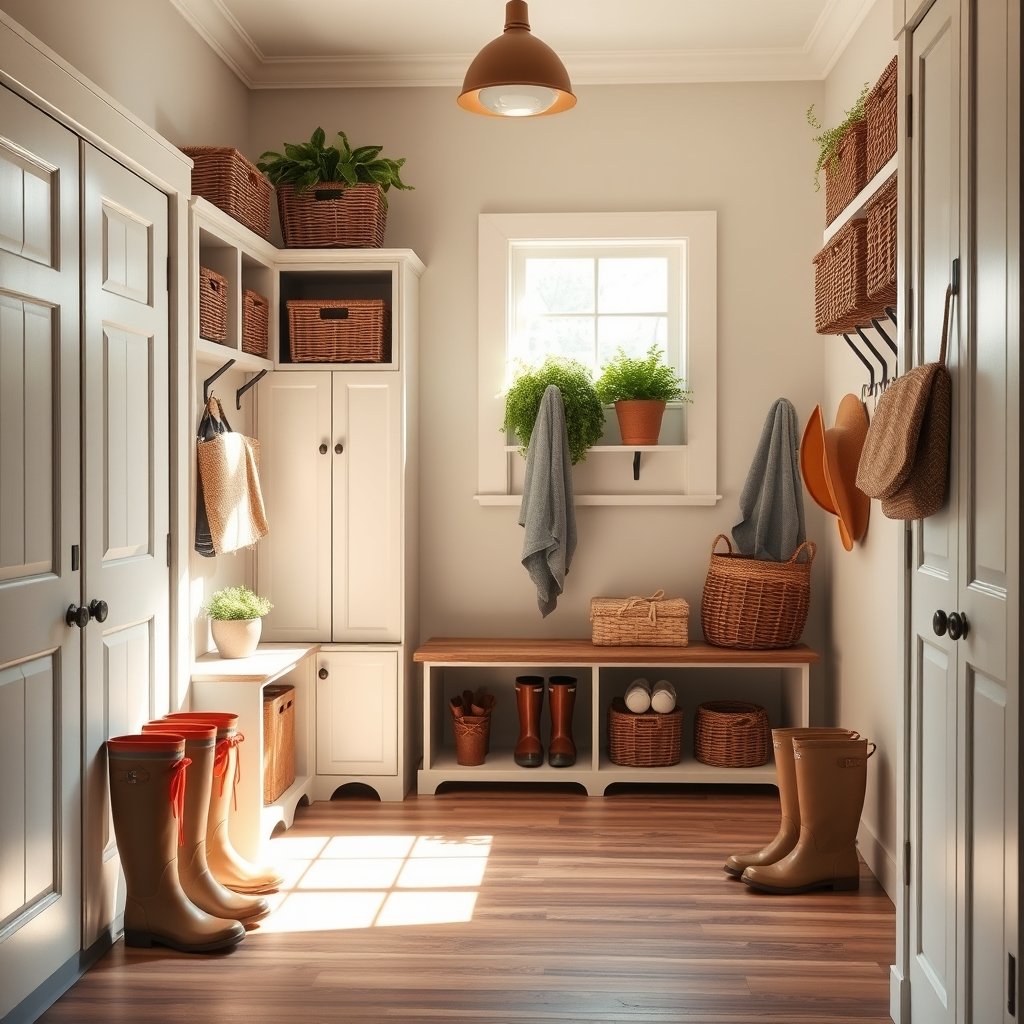
If you plan to sell, emphasize:
- Easy-to-clean, durable waterproof flooring
- High-capacity organized storage: built-ins or modular cubbies
- Bright, layered lighting and motion-sensing convenience
- Defined drop zones for kids, pets, and seasonal gear
In real estate listings, use phrases like “custom storage solutions,” “pet-friendly design,” and “easy-maintain, waterproof surfaces” to connect with buyers (most value function over pure ROI, with mudrooms recouping 60–80% of cost at resale source).
Next steps & decision templates
Ready to plan? Use these two quick templates to clarify your approach.
DIY mudroom on a budget — must-have checklist
- Waterproof and cleanable flooring or mats
- Anchored bench with storage (prefab if possible)
- Wall hooks and easy-access cubbies
- At least two layers of LED lighting (ceiling + task)
- Basic ventilation: window, grill, or bath fan
- Washable, semi-gloss paint on walls
Pro contractor brief template
- Scope: [Conversion or bump-out mudroom, sq. ft., plumbing/electrical requirements]
- Key materials: Waterproof flooring (porcelain/LVP), sealed trim, solid-wood or water-resistant cabinets
- Performance standards: Zero standing water after rain, no warping of built-ins in first year, layered lighting with switch/dimmer as specified
- Timeline: Conversion 2–4 weeks; bump-out 4–6 weeks
- Budget: $50–$100/sf (conversion); $100–$250+/sf (addition). Request line-item bid.
If you want more inspiration on maximizing ROI from home upgrades, check out our home equity loan for renovation guide.
FAQs
How much does a mudroom addition cost in 2024–2025?
Conversions typically cost $50–$100 per square foot, while new additions (“bump-outs”) run $100–$250+ per square foot including labor and mid-range finishes.
Can a mudroom be built in a small entry or hallway?
Yes, even a 4’x6′ space can work. Prioritize vertical storage, anchored slim benches, and hooks to maximize small entryway storage solutions.
What’s the most important mudroom addition idea for durability?
Always start with waterproof flooring and sealed edges. Avoid MDF or softwood benches; invest in water-resistant woods or quality composites.
Do mudrooms require special ventilation?
Yes, especially if you store wet boots, pet gear, or sports equipment. Passive vents or a bath fan reduce humidity and mold risk.
What features impress buyers the most?
Durable flooring, custom or modular storage, smart lighting, and organized zones for family, guests, and pets appeal most at resale.