

### Blog Post:
DIY kitchen cabinet refacing has become the ultimate budget-friendly secret for homeowners who want a kitchen upgrade without the sticker shock of a full renovation. But not every cabinet is a candidate, and not all “easy” projects go as planned. This guide breaks down costs, timelines, tool lists, user pain points, and shortcuts so you can avoid common mistakes and pull off a fresh, durable kitchen look this weekend—or at least know exactly what you’ll get into before you start.
Key Takeaways
- DIY kitchen cabinet refacing saves thousands compared to full replacement, but careful prep and planning are essential for long-lasting results.
- Laminate, hardwood veneer, and solid wood kits each have different cost, durability, and skill demands—don’t pick based on look alone.
- Most issues—like peeling, alignment mistakes, and unexpected costs—are preventable by following tool checklists, accurate measuring, and using VOC-safe materials.
- Quick Decision Checklist — Reface, Repaint, Replace, or Door-Only?
- Step-by-Step DIY Kitchen Cabinet Refacing Guide
- Advanced Analysis & Common Pitfalls in DIY Kitchen Cabinet Refacing
- Conclusion
- FAQ
Quick Decision Checklist — Reface, Repaint, Replace, or Door-Only?
If your cabinets look tired but the layout works, here’s how to decide your upgrade path. Ask yourself these four questions:
- Are the cabinet boxes (sides, shelves, frames) rock-solid—free from swelling, rot, or loose joinery? If yes, refacing or painting is possible. If not, replacement is safest.
- Is your budget under $1,000 for a “whole kitchen” facelift? Painting or a homeowner-run veneer/door kit is usually feasible. Door-only replacements can be even cheaper if frames are perfect.
- Do you want a final result that lasts at least 10 years with minimal maintenance? Veneer or solid wood refacing wins for longevity. Painting is less expensive up front but expect touch-ups sooner.
- How much time do you truly have—one weekend, or several? Door-only replacement or basic painting is fastest; full refacing with new veneer and doors may run over several weekends.
For perspective, replacing all cabinets averages $15,000–$35,000 for a standard 12-foot kitchen (source), while a quality refacing or door-only kit often lands under $1,000 if you DIY. If your boxes and frames are in good shape, DIY kitchen cabinet refacing or door-only projects offer huge savings.
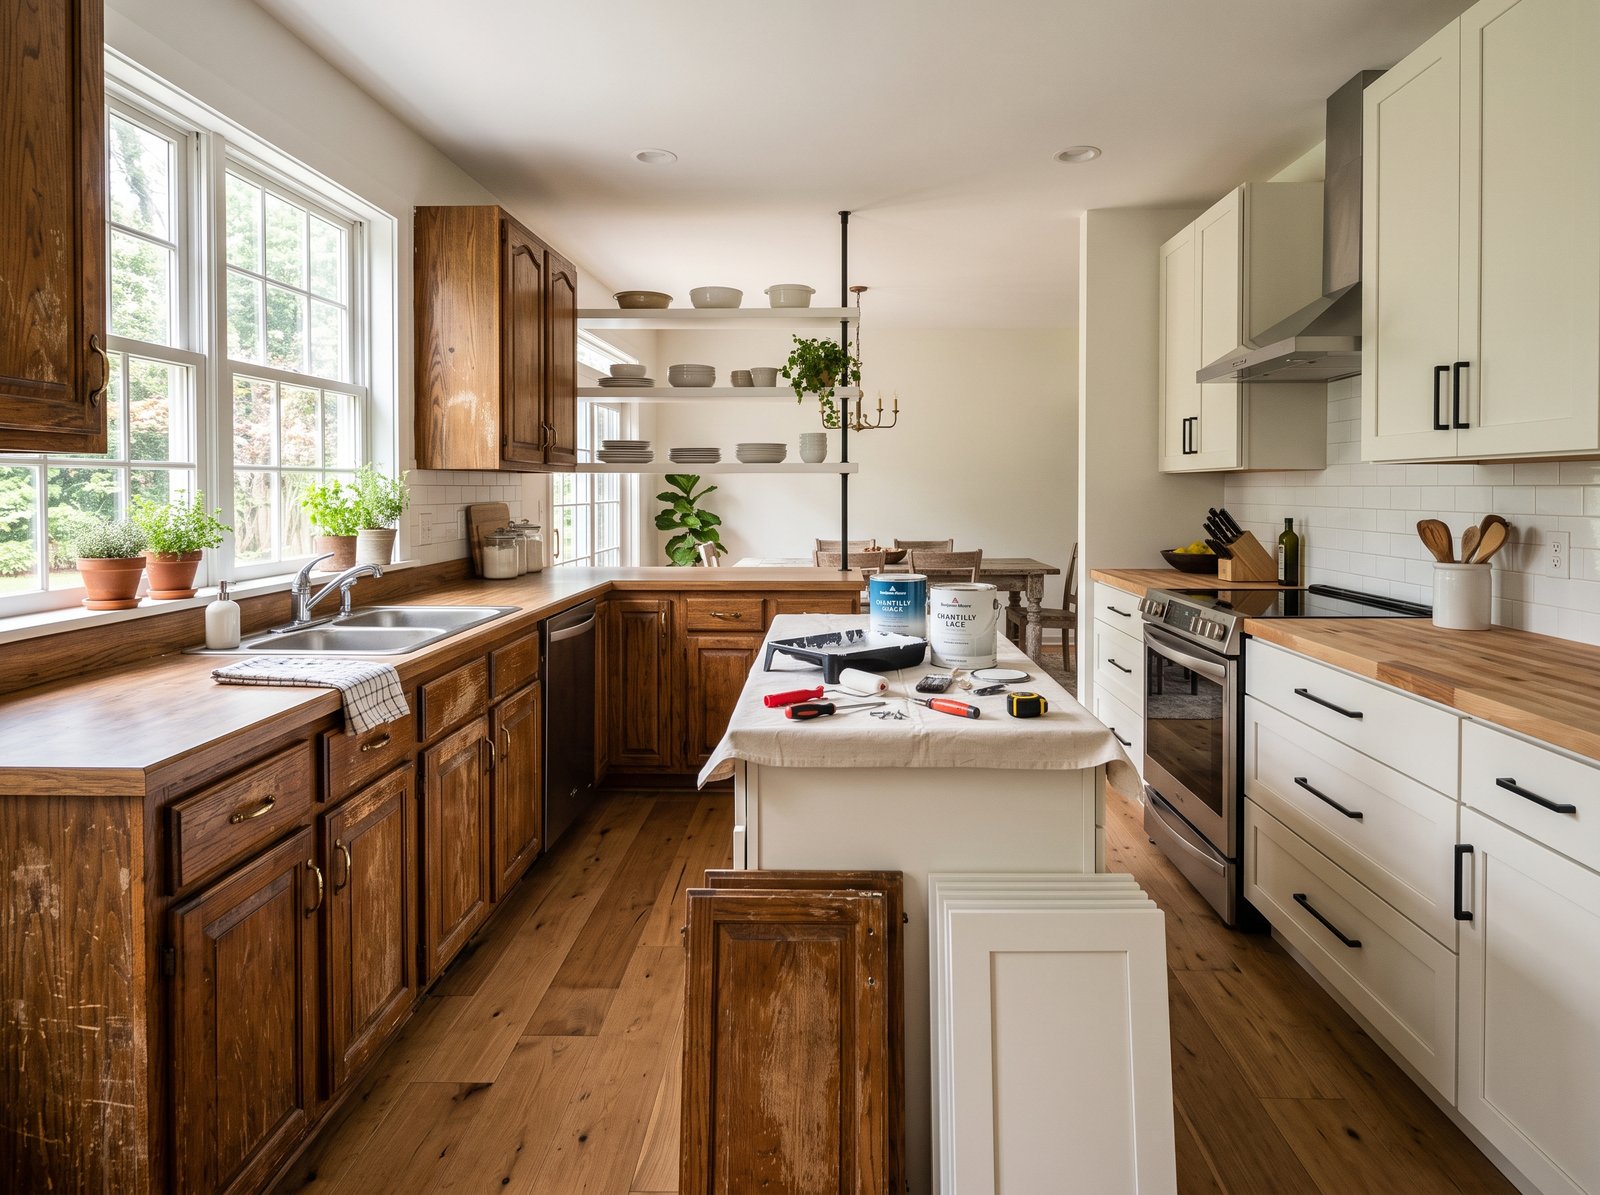
Step-by-Step DIY Kitchen Cabinet Refacing Guide
Ready to get hands-on? Here’s how experienced DIYers tackle the process, with realistic prep and cleanup built in:
- Prep & Planning
- Empty all cabinets. Photograph existing door and drawer layouts to use as a map later.
- Check all boxes for damage—swelling, water marks, or structural issues mandate full replacement.
- Measure twice: every door, drawer, and cabinet opening. Use a downloadable template for accuracy.
- Research your kit: laminate, hardwood veneer, and replacement doors each have unique installation quirks.
- Ordering Your Kit & Materials
- Select a cabinet refacing kit that matches your cabinets’ overlay style, frame thickness, and hardware size.
- Make a checklist: glue, edge banding, clamps, new hinges, handles, respirator, HEPA-rated vacuum, and caulk.
- Remove Doors, Drawers, and Hardware
- Label each door/drawer with tape on the inside edge to keep them matched to their locations.
- Clean & Prep Surfaces
- Degrease all boxes, frames, and faces thoroughly.
- Decide on “no-sand” methods: use deglosser and a self-etching primer, or sand lightly if finish is slick or flaking.
- Contain dust using painter’s plastic and a shop vacuum with a HEPA shop vac.
- Apply Veneer or New Doors
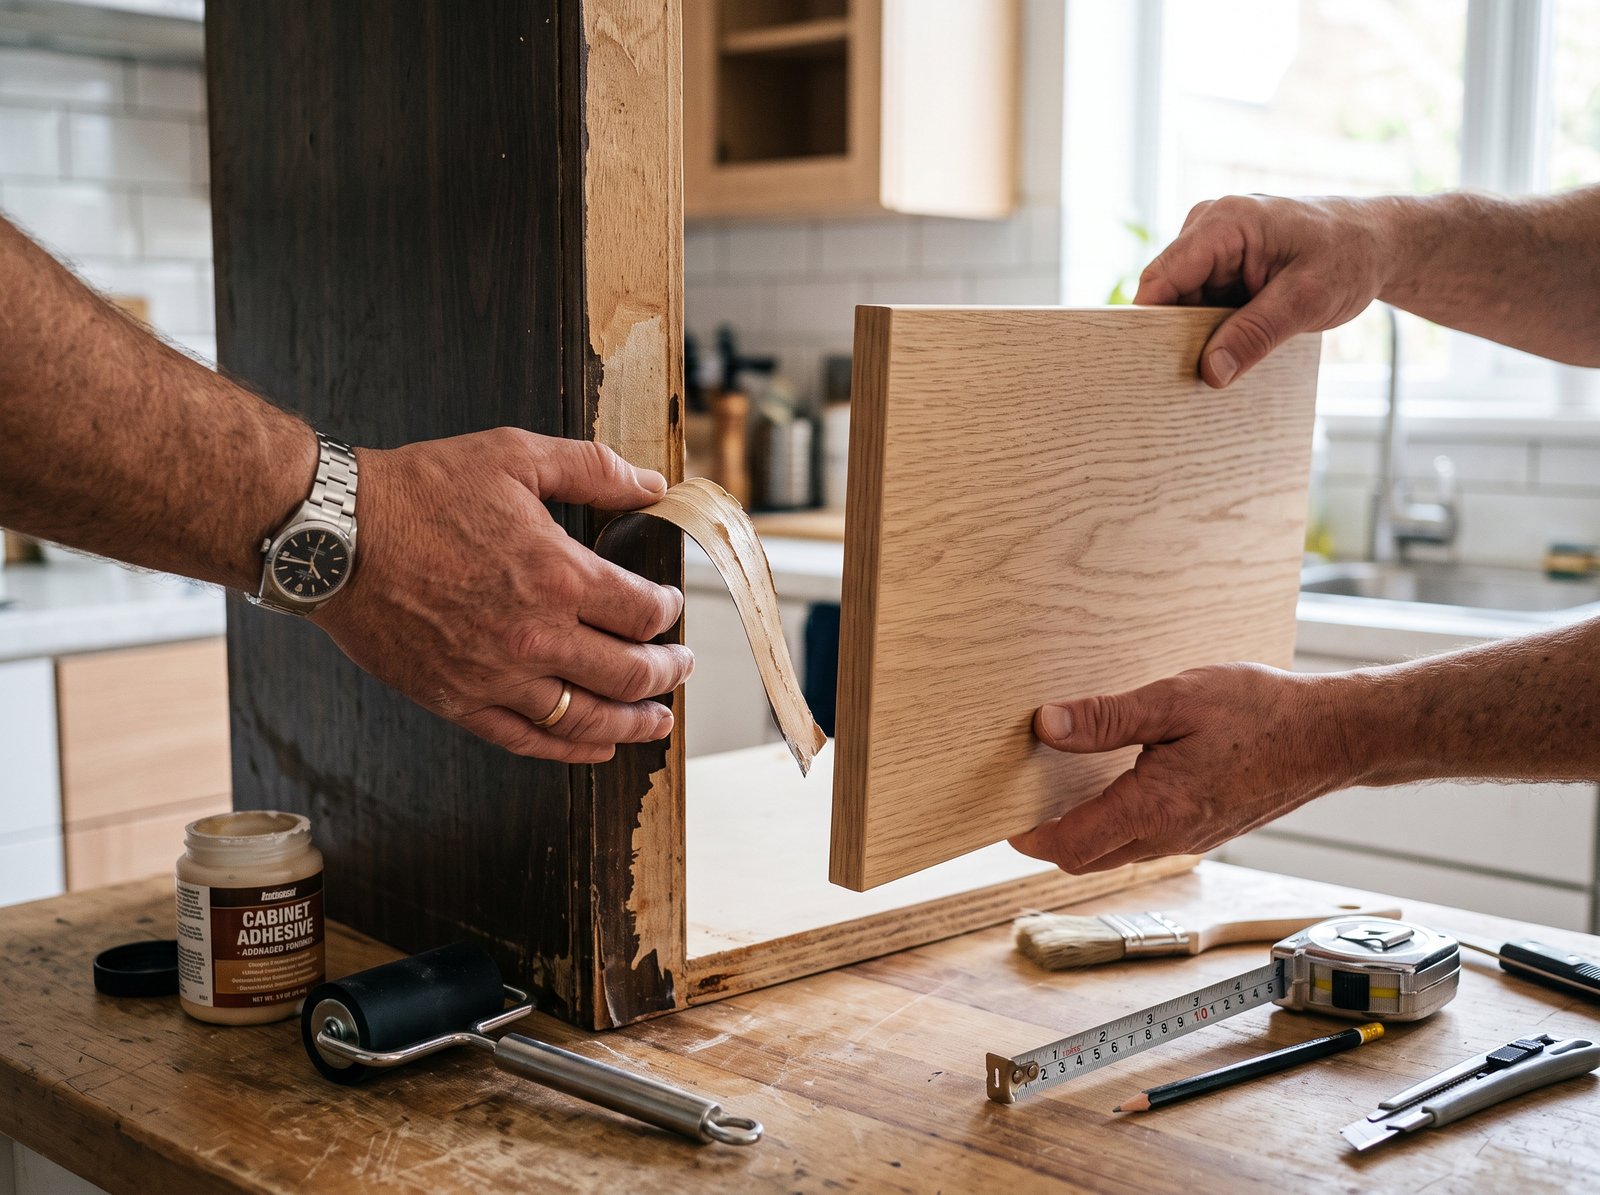
- Cut veneer to size; dry-fit all pieces. Apply high-quality, low-VOC waterborne contact cements (external guide recommends 3M or Wilsonart).
- Align carefully—veneer and new doors don’t forgive sloppy measuring.
- Press or clamp edges firmly, then edge-band exposed plywood for a seamless look.
- Reinstall Doors, Drawers, and Hardware
- Adjust new hinges for even reveals. Replace handles/knobs if desired.
- Finish by caulking seams as needed and applying the manufacturer-recommended finish.
Advanced Analysis & Common Pitfalls in DIY Kitchen Cabinet Refacing
Most DIY kitchen cabinet refacing projects go sideways for avoidable reasons. Here’s what real users complain about and how to avoid them:
- Veneer or Laminate Peeling/Lifting: Often caused by poor adhesion, incomplete cleaning, skipping edge-sealing, or using cheap/expired glue.
- Mis-measured or Misaligned Doors: This is the top regret. Always double-check measurements, use template grids, and label everything. Our full checklist can help.
- Low Durability (Chips, Scratches, Water Spots): Laminate lasts 5–10 years, hardwood veneer 10–15, solid wood over 20 years, while painting may need touch-ups in under 5 years (see comparative data).
- Mess and Health Issues: Sanding, adhesives, and paints can be dusty and release fumes. Always use a respirator and ventilate. Choose low-VOC or water-based materials, especially if kids or pets are present.
- Project Takes Too Long: Padding your timeline is essential. Many projects advertised as “a weekend” spill over into two or more, mostly due to curing times and correcting mistakes.
| Project Type | Typical Cost | Durability | Difficulty | Main Risk |
|---|---|---|---|---|
| Painting Cabinets (without sanding) |
$400–$1,000 (DIY) | 2–5 years | Low–Med | Chipping/flaking |
| Laminate Refacing Kit | $350–$900 (DIY kit) | 5–10 years | Med | Peeling/edge lift |
| Hardwood Veneer Kit | $600–$1,200 (DIY kit) | 10–15 years | Med–High | Bubble/misalign |
| Solid Hardwood Doors Only | $400–$3,000 (DIY/Kit) | 20+ years | Med | Measurement error |
| Full Cabinet Replacement | $15,000–$35,000 | 20+ years | High | Budget/scope creep |
For those worried about air quality and health, note: even best-selling refacing guides frequently fail to mention VOCs and off-gassing. Use low-VOC waterborne contact cements and finishes. Always work in a well-ventilated area and wear a proper mask.
For a streamlined post-project touch-up routine—like quick fixes for peeling, scratches, or crooked doors—see our garage storage system guide (pro tip: many of the same adhesives and screws double for storage fixes).
Want to compare the cost of refacing kits versus full replacement in your region? Try our free cabinet refacing cost calculator.
Conclusion
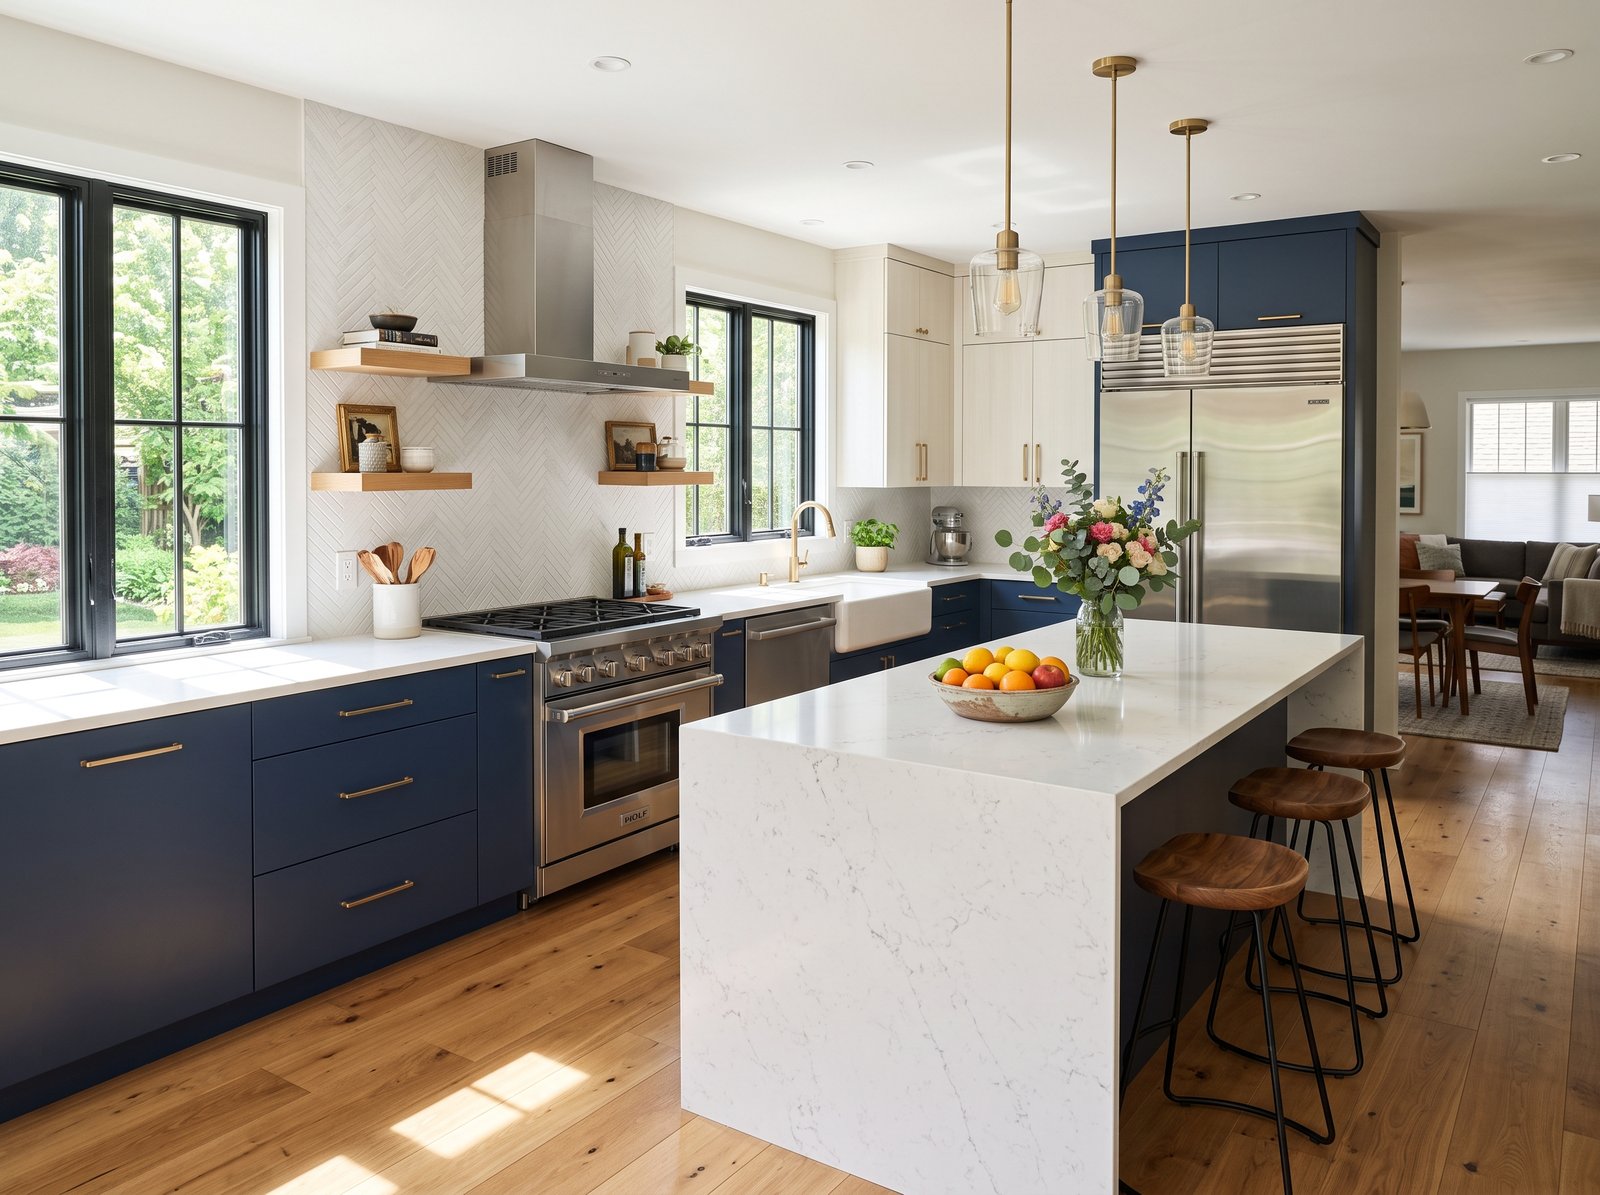
Smart, realistic planning makes DIY kitchen cabinet refacing one of the best kitchen upgrades for homeowners who want big visual impact at a tiny fraction of the cost of new cabinets. Invest time in prep, accurate measurement, and VOC-safe materials to avoid the most common frustrations. Want to see if a kit is worth it for your home? Use our downloadable template and try the quick calculator now—it could save you thousands.
FAQ
How much does DIY kitchen cabinet refacing really cost?
Most full-kitchen DIY cabinet refacing kits with veneer and doors range from $350 to $900, but costs rise if you add new hardware, specialty adhesives, or hire for tricky measurements. Pro installs can easily exceed $2,000, and full replacement can hit $15,000–$35,000 for an average kitchen (source).
Can I reface cabinets that are warped or water-damaged?
No. Cabinets must have structurally sound sides and frames. Warping, swelling, soft spots, or rot mean full replacement is the only safe, long-term fix.
What’s the most durable and lowest-maintenance cabinet refacing kit?
Solid hardwood replacement doors and panels last 20+ years and can be refinished. Hardwood veneer kits last 10–15 and offer good durability if installed correctly. Laminate is affordable but more prone to peeling after 5–10 years—especially near sinks or dishwashers.
Is painting kitchen cabinets without sanding a good idea?
It can work on lightly used cabinets or when using high-adhesion primers and deglossers, but durability is limited. If the existing finish is glossy or damaged, light sanding ensures the new paint bonds properly and reduces the risk of chips or flakes.
How do I keep dust and fumes under control?
Work with windows open, seal off kitchen doorways with plastic, and always use a HEPA shop vac. Wear a respirator and eye protection. Use low-VOC adhesives and water-based finishes whenever possible.