

### Blog Post:
Peel and stick backsplash is the fastest way for renters and first-time homeowners to refresh a kitchen—no contractor, grout, or expensive materials needed. But how do you get pro results while staying under budget and out of trouble with your landlord? This ultra-practical guide sorts fact from hype so you actually know what to expect if you try self-adhesive wall tiles in 2024.
Key Takeaways
- Peel and stick backsplash options are booming, offering fast, affordable, and renter-friendly transformations—but trade-offs exist for durability and wall repair.
- Material choice, prep, and careful removal are make-or-break for lasting results and protecting your deposit.
- Most tiles last 3-5 years (not forever); use surface-safe installations and document with photos for smooth move-outs.
- Why peel-and-stick backsplashes are booming right now
- Step-by-step guide to prep and installation
- Advanced analysis & common pitfalls
- Conclusion
- FAQ
Why peel-and-stick backsplashes are booming right now
Demand for easy kitchen backsplash ideas is at an all-time high. In 2024 alone, the global market for self adhesive wall tiles hit approximately $2.1 billion, with the Asia-Pacific region leading at $920 million and Europe close behind at $720 million[source]. Market growth is steady at 8–9 percent a year, and product choice keeps expanding.
Why? Renters and first-time buyers like Alex want quick, stylish, and damage-limiting kitchen updates. Manufacturers are racing to create better, more realistic DIY peel and stick tiles to meet this “instant upgrade” demand.
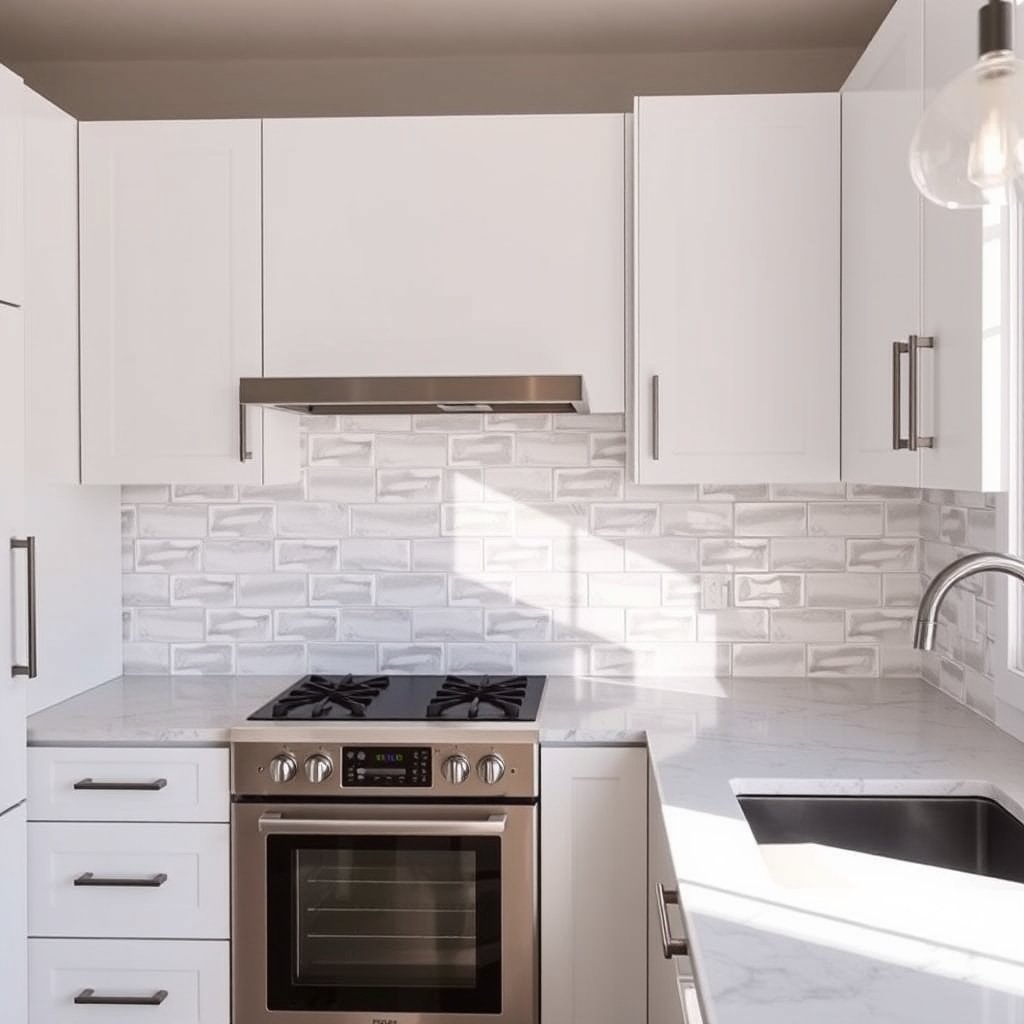
Most self adhesive wall tiles today use these materials:
- Vinyl/PVC composites (about 60%): Cheapest, most flexible, wide range of looks.
- Gel-resin tiles (roughly 20%): 3D effect, softer touch, realistic “glass” shine.
- Metal/aluminum (about 15%): For heat tolerance, real metallic finish, higher cost.
- Glass or stone-look (5%): Premium price, sometimes less removable, best realism.
This massive market doesn’t mean every peel and stick backsplash is perfect for every situation—but it does mean you have good choices if you know what to avoid.
Step-by-step guide to prep and installation
Getting a gorgeous—and durable—DIY peel and stick tiles result comes down to prep and smart product selection. Here’s what you need to do.
- Choose your tile and plan layout:
- Pick the style and material based on kitchen location (see analysis below on heat risks).
- Measure the area; add 10% extra for mistakes or tricky edges.
- Prep the surface:
- Clean thoroughly: Remove grease, soap, dust, and old caulk. Don’t skip this—adhesive hates dirt.
- If walls are very glossy or painted, lightly scuff-sand for better grip.
- Fill any holes; smooth uneven areas with spackle and sand flat.
- Let dry completely before sticking tiles—moisture is the #1 reason for early failure!
- Plan cuts and layout:
- Lay tiles dry (without removing backing) to test fit and get your starting point straight.
- Use a utility knife, scissors, or (for metal/glass) snips/hacksaw.
- Install at the right temperature:
- Room should be 65-85°F (18-29°C). Too cold or hot, and the adhesive won’t bond well.
- Peel and stick, top-down:
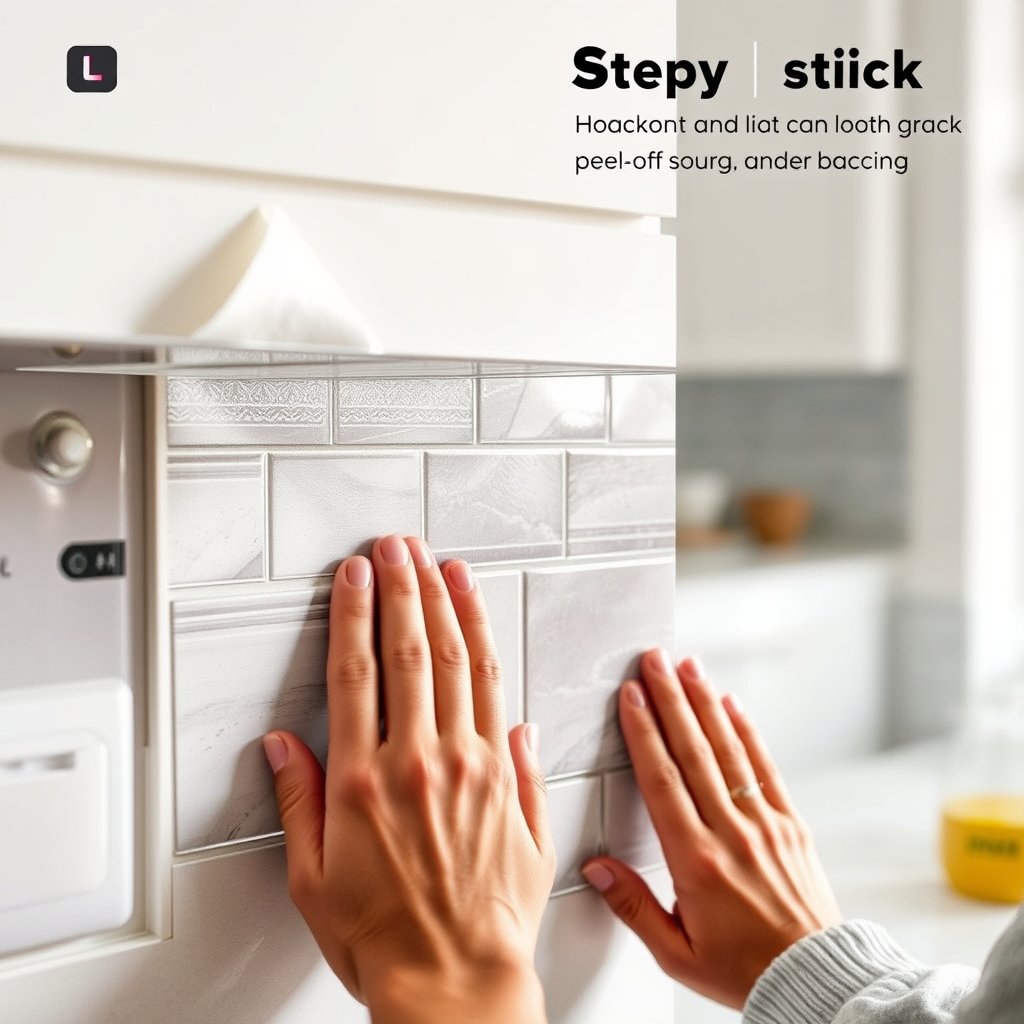
- Press firmly with a soft roller or cloth—especially edges and seams.
- Use spacers if needed for pattern consistency.
- Seal edges:
- Caulk at countertop or sink junction to stop water from seeping in.
Want more DIY home upgrade ideas? Check out our guide on solar outdoor lights for backyard and easy curb-appeal improvements.
Advanced analysis & common pitfalls
Peel and stick backsplash kits are fast and affordable—but renter-friendly doesn’t mean foolproof. Here’s what the research, and thousands of real-world installs, reveal:
Common Pitfalls and Performance Issues
- Adhesive failure: About 2-3 years in, many users see edge lifting or tiles falling off—especially if the surface prep was rushed, or humidity is high. Moisture and kitchen grease are its worst enemies.
Stat: Most high-quality peel and stick backsplash tiles promise 3-5 years; 10 years is rare and requires flawless prep—and luck.[source] - Heat/moisture failures: Placing tiles directly behind stoves or kettles? Expect adhesive to weaken or the vinyl to bubble. This accounts for a top share of consumer complaints.[source]
- Removal issues: When it’s time to move, tiles may pull off paint or drywall texture, or leave sticky residue—sometimes requiring hours of cleaning and patching.[source]
| Material Type | Average Retail ($/sq ft) | Heat Tolerance | Removal Impact | Best Use Case |
|---|---|---|---|---|
| Vinyl/PVC | $4–$5 | Low | Easy, minimal wall marks | Low-splash kitchen walls; apartment updates |
| Gel/Resin | $5–$6 | Low–Medium | May pull paint; easier to clean | Accent stripes; areas not near cooktop |
| Aluminum/Metal | $6–$7 | Medium–High | Requires careful removal; may bend | Stove-adjacent, higher heat spots |
| Glass/Stone-Look | $7+ | Medium–High | Can damage wall; harder to remove | Permanent-style upgrades; not for short leases |
| Ceramic/Porcelain (Real Tile) | $10–$40 (incl. labor) | High | Permanent | Forever homes; long-term value |
Other Realities Renters Must Know
- Peel-and-stick claims: “removable” varies—some adhesives turn stubborn over time, making walls harder to repair.
- Lease protection: Always take before and after photos. Send your landlord a written note that you’re installing a renter friendly backsplash—this improves your chances of a full deposit return.
- Fast repairs: Small tears or sticky residue? Use Clean residue with Goo-Gone, spackle, fine sandpaper, and touch-up paint; under $30 for a DIY fix kit.
Looking for even deeper dives into surface performance? Our article on structural element conditioning reveals how preparation impacts DIY results.
For more on DIY trends and transformation strategies, see our guide to movement and change in home design.
Conclusion
If you want real, near-instant kitchen impact at a reasonable price, peel and stick backsplash is a smart move—just know its short-term nature and removal risks. Prep matters more than the sticker itself: cut, clean, and document for a true renter friendly backsplash approach.
- Pick your material: Match your kitchen’s hot, wet, and visible zones to vinyl, gel, or metal tiles as above.
- Focus on prep: Clean, sand, dry, layout—and take photos before/after.
- Protect your walls and deposit: Use removable strips on high-risk edges, and always send landlord notice.
Ready to try an easy kitchen backsplash idea that actually fits your lease and wallet? Download our checklist and estimator now—or explore more budget updates in our core DIY alignment guide. For advanced renters, don’t miss the deeper news on evolving home improvement cycles.
Above all, use a peel and stick backsplash because you want a fast, flexible style—not a forever fix—then enjoy your upgrade stress-free.
FAQ
How does a peel and stick backsplash compare with real tile?
Real ceramic or porcelain tile lasts 50+ years, but needs grout, mess, and pro install. Peel and stick backsplash works well for 3-5 years (maybe stretching to 10 if you’re diligent), with less mess and no major tools. If you want a “forever home” solution, consider real tile instead.
What rooms are best for self-adhesive wall tiles?
Dry kitchen walls, laundry rooms, and some bathroom accent strips. Do not use directly behind stoves, ovens, or in shower enclosures without a heat/moisture-resistant barrier.
How can I safely remove DIY peel and stick tiles without losing my deposit?
Use heat from a hairdryer to gently soften the adhesive, then peel off slowly. Clean residue with Goo-Gone or soap. Patch any torn paint with lightweight spackle and blend with touch-up paint. Always photograph your steps for landlord records.
Do professional-looking finishes need special tools?
Not really. A utility knife, ruler, level, soft roller (or cloth), caulk, and optional mounting strips are enough. The true secret is careful prep—rushing leads to visible seams and edge curling, no matter how expensive your tiles are.
Are peel-and-stick products safe for renters?
Most kits are designed as a renter friendly backsplash, but removal is never “no trace.” Use less aggressive adhesives or mounting strips, and plan for 30 minutes of gentle clean up at move-out. Always document before and after!